 For this tutorial you will need the following:
Paint Shop Pro, I am using PSPX, but any version should work.
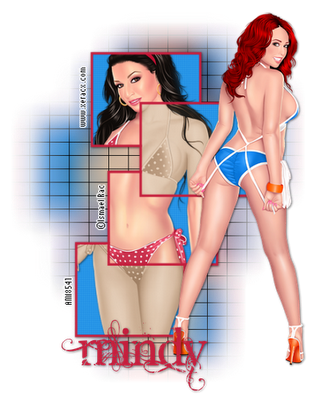
Two tubes of your choice. I am using the gorgeous artwork of Ismael Rac which you must purchase at AMI to use.
Effects and Plugins:
Sepia Toning, which comes with PSP X
Penta.com Color Dot
Toadies Ommadawn
Font used: Angelic War
Let's get started!
Open a new canvas about 700x700 with a white background. You can crop it down and get rid of the white at the end. This just makes it easier for us to work.
Using your preset shape tool set at rectangle, set your foreground to #c5203e and your background to null, line width about 5. Draw out a smallish rectangle. Convert to raster layer and then duplicate it 3 times. Arrange them so they are overlapping how you'd like them.
Sunday, May 23, 2010
Old School Summer
 For this tutorial you will need the following:
Paint Shop Pro, I am using PSPX, but any version should work.
Two tubes of your choice. I am using the gorgeous artwork of Ismael Rac which you must purchase at AMI to use.
Effects and Plugins:
Sepia Toning, which comes with PSP X
Penta.com Color Dot
Toadies Ommadawn
Font used: Angelic War
Let's get started!
Open a new canvas about 700x700 with a white background. You can crop it down and get rid of the white at the end. This just makes it easier for us to work.
Using your preset shape tool set at rectangle, set your foreground to #c5203e and your background to null, line width about 5. Draw out a smallish rectangle. Convert to raster layer and then duplicate it 3 times. Arrange them so they are overlapping how you'd like them.
Labels:
AMI CT tuts,
FTU tut,
Ismael Rac,
tutorial
Subscribe to:
Post Comments (Atom)

No comments:
Post a Comment