Pages

Wednesday, December 31, 2014

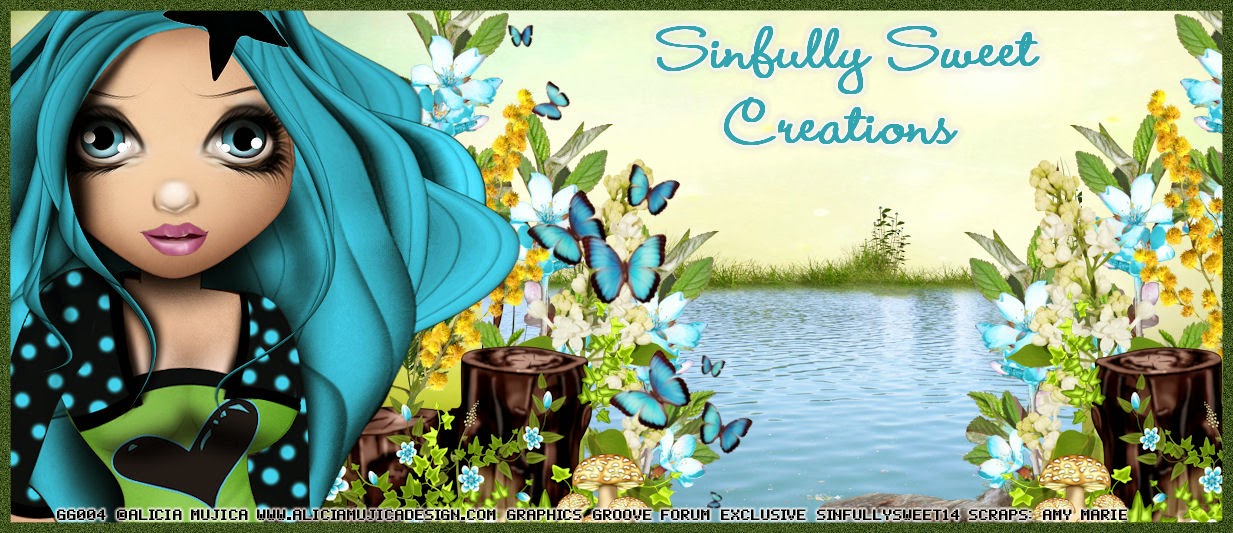
White & Black


Snaggable versions of this tag in my Fotki album

For this tutorial you will need the following:

Paint Shop Pro, I am using PSP X7, you should be able to use any version.

Tube of choice, I am using the artwork of Anna Marine Individual Tube 43-3 which you need a license to use.  

Scrap kit of choice. I am using a PTU kit, White and Black by Scrappin With Lil Ole Me  

Font of choice, I am using Too Many Secrets

Mask of your choice. I am not sure where mine came from, so I have no links to it

Plugins: no outside plugins


Just remember that my choices of papers and elements is just a suggestion, change it up and make it yours! You don't have to follow mine exactly.

Add a drop shadow of your choosing to tubes & elements throughout. I usually use 1, 1, 50, 5 unless otherwise noted.


Let's get started!

Open a new canvas 850 x 850 pixels with a white background

Open element 105 copy and paste as a new layer resize 85%
click inside with your magic wand, selections, modify, expand 2, selections, invert
open paper 16 copy and paste as a new layer 
click delete on your keyboard,

Copy and paste your tube as a new layer
arrange in your frame
erase the bits that hang out of your frame where you don't want them

Add your elements:
element 7 mirror & arrange on the left side
element 64 resize 55% mirror & arrange over the tree
element 8 resize 45% arrange between tree and element 64

element 66 resize 33% arrange on bottom left corner
element 77 resize 40% mirror arrange between the skull and grass, duplicate arrange below the grass
element 106 resize 60% arrange below the grass layer on the right side

element 137 resize 45% rotate right 90 arrange below the other layers on the bottom
element 5 resize 80% arrange on bottom, above & behind the grass layer, erase the bottom lantern
element 22 resize 35% arrange to the right of the skull

add paper 7 above the white background
apply your mask, merge group

crop and resize
add your copyright and credits as needed
add your text and save
Tuesday, December 30, 2014

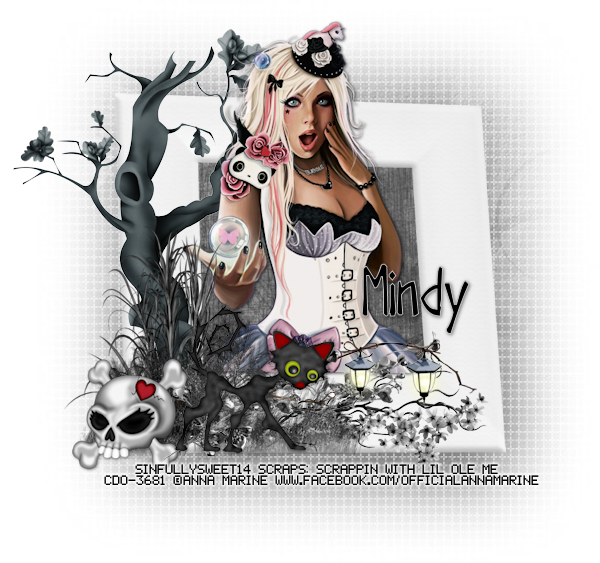
Aquamarine


Snaggable versions of this tag in my Fotki album

For this tutorial you will need the following:

Paint Shop Pro, I am using PSP X7, you should be able to use any version.

Tube of choice, I am using the artwork of Rachel Anderson - Individual Tube - 15-2
which you need a license to use and is available at CDO

Scrap kit of choice. I am using a PTU kit by Ladyhawwk Designs 
IB-Rachel Anderson- Individual Tube 15-2  which was inspired by the tube I am
using and available only at CDO

Font of choice, I am using Brotherhood Script


Plugins: no outside plugins used


Just remember that my choices of papers and elements is just a suggestion, change it up and make it yours! You don't have to follow mine exactly.

Add a drop shadow of your choosing to tubes & elements throughout. I usually use 1, 1, 50, 5 unless otherwise noted.


Let's get started!

Open a new canvas 850 x 850 pixels with a white background

Open frame 2 copy and paste as a new layer resize 85% then 75%
click inside with your magic wand, selections, modify, expand 2, selections, invert
open paper 6 copy and paste as a new layer 
click delete on your keyboard,

Copy and paste your tube as a new layer mirror and arrange on the right side of the frame
arrange in your frame


erase the bits that hang out of your frame where you don't want them

add your elements:
element 3 resize 70% duplicate & mirror the duplicate, arrange below tube layer on bottom right
duplicate the one on the right and drag above tube, take your eraser tool and erase parts of the top flower layer where it goes over the wings and arms, leaving the bottom tube as it is so it shows under the tube 
and you don't have to worry about being exact along the edge

Go back to the original element 3 on the left, rotate left 35, drag over so it meets up with the one on the right side

element 11 resize 35% arrange at the bottom where the two blue elements meet, duplicate and 
drag up, erase the green leaf on the right side of the element at the bottom

element 16 resize 70% rotate right 30 arrange under the blue flowers on the left
erase the butterfly at the very top of it

element 14 resize 60% arrange at the bottom of the blue flowers

add paper 2 above the white background
apply your mask, merge group, resize 80%

crop and resize
add your copyright and credits as needed
add your text and save

Monday, December 29, 2014

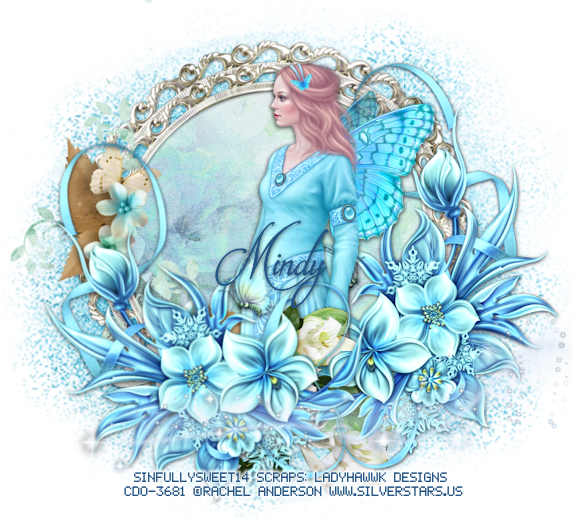
Fall In Love


Snaggable versions of this tag in my Fotki album

For this tutorial you will need the following:

Paint Shop Pro, I am using PSP X7, you should be able to use any version.

Tube of choice, I am using the artwork of Alehandra Vanheck (Champagne tube - a PFD Exclusive) which you need a license to use.  

Scrap kit of choice. I am using Fall In Love, a PTU kit by BLT Dezignz 

Font of choice, I am using Scriptina

Mask: Becky Mask 23 - 
her masks are no longer available for download
if you don't have it, just use another that you like

Plugins: Optional Eye Candy 4000 Gradient Glow for text


Just remember that my choices of papers and elements is just a suggestion, change it up and make it yours! You don't have to follow mine exactly.

Add a drop shadow of your choosing to tubes & elements throughout. I usually use 1, 1, 50, 5 unless otherwise noted.


Let's get started!

Open a new canvas 850 x 850 pixels with a white background

Open frame 2 copy and paste as a new layer resize 80%
click inside with your magic wand, selections, modify, expand 2
add a new raster layer below the frame
open paper 5 make sure you are on the new layer, 
copy and paste into selection
leave selected, selections, invert

Copy and paste your tube as a new layer, resize by 35%
arrange in your frame
erase the bits that hang out of your frame where you don't want them

Now add your elements:
flower 1 resize 55% arrange on bottom left, duplicate & mirror
flower 5 resize 60% arrange between the two flower 1 layers
flower 1 resize 40% arrange on top of flower 5

foliage resize 75% rotate right 90 arrange on bottom right, under flowers, duplicate, mirror
duplicate each one one time, drag the one on the left over to the right, 
drag the one on the right to the left

branch resize 55% rotate right 45 arrange between flower and leaves on bottom right
duplicate & mirror

buckle arrange under roses on left, duplicate & mirror
duplicate the one on the right, drag under silvery flower in center to the right side of it, 
duplicate & mirror

heart 1 resize 20% arrange between the two red rose layers in center and on left
bird resize 28% arrange on bottom right

add paper 6 above the white background
apply your mask, merge group

crop and resize
add your copyright and credits as needed
add your text and save
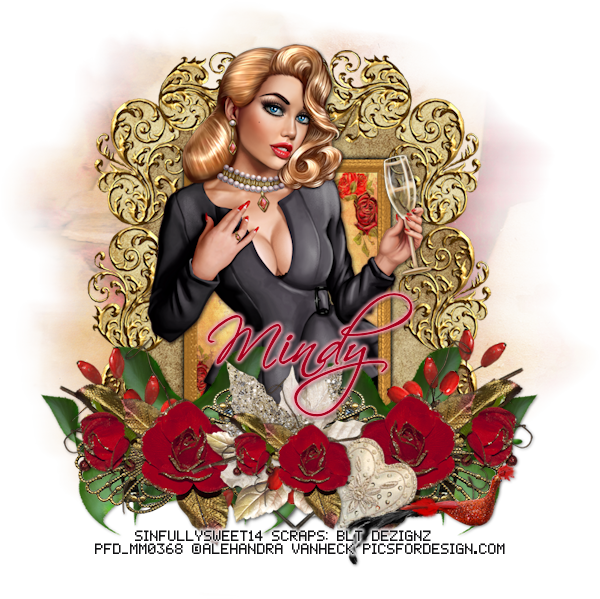
I used #a2001a for the text and a gradient glow of 4 #ffadbb 

Sunday, December 28, 2014

Snow Bird


Snaggable versions of this tag in my Fotki album

For this tutorial you will need the following:

Paint Shop Pro, I am using PSP X7, you should be able to use any version.

Tube of choice, I am using the artwork of Kyra Wilson (Snowbird tube)
which you need a license to use.  

Scrap kit of choice. I am using a PTU kit, Winter Joy by Scrappin With Lil Ole Me 

Font of choice, I am using Scriptina

Plugins: No outside plugins


Just remember that my choices of papers and elements is just a suggestion, change it up and make it yours! You don't have to follow mine exactly.

Add a drop shadow of your choosing to tubes &; elements throughout. I usually use 1, 1, 50, 5 unless otherwise noted.


Let's get started!

Open a new canvas 850 x 850 pixels with a white background

Open element 2 copy and paste as a new layer, resize 75%
click inside with your magic wand, selections, modify, expand 2, add a new raster layer below the frame
open paper 15 copy and paste into selection, deselect

Copy and paste your tube as a new layer, resize by 60%
arrange on the left side of the frame

Now add your elements:
element 33 resize 80%  & arrange at the bottom of the frame
element 85 arrange behind the snowman on the left
element 110  resize 70% arrange behind snowman and to the right of the other tree

element 49 resize 60% mirror & arrange on bottom right corner
element 5 resize 50% mirror &; arrange under element 49 on bottom right, erase the stem on the right
element 48 resize 50% rotate right 90, mirror & arrange below the other 2 layers on bottom right

element 63 flip & arrange just under the tube layer so it's over the trees and frame/background
element 8 resize 45% arrange just below snowman layer
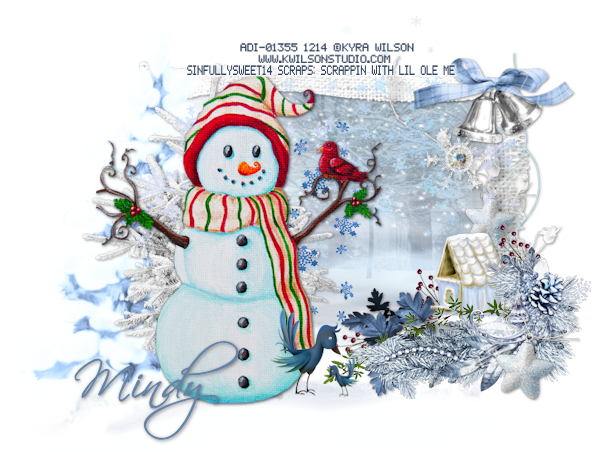
element 3 resize 35% arrangen on top right corner 

element 4 resize 25% arrange on bottom right corner
element 125 resize 25% mirror & arrange on bottom right, under some of the layers
so it looks like it's in the branches

element 24 resize 25% arrange behind birdhouse, duplicate twice, drag one up to the top of the cluster of branches, rotate the other left 70, drag down towards the bottom left of the cluster

element 11 resize 25% arrange by snowman on right, duplicate, mirror, resize 45%


crop and resize
add your copyright and credits as needed
add your text and save

Saturday, December 27, 2014

Silver Wings


Snaggable versions of this tag in my Fotki album

For this tutorial you will need the following:

Paint Shop Pro, I am using PSP X7, you should be able to use any version.

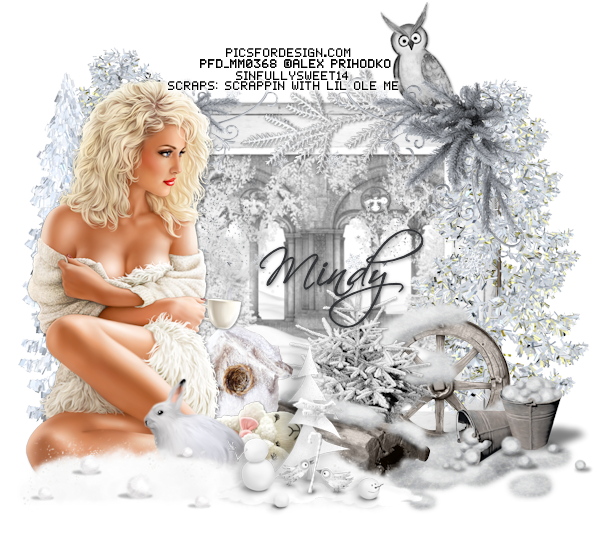
Tube of choice, I am using the artwork of Alex Prihodko (Dreams tube)
which you need a license to use.  

Scrap kit of choice. I am using a PTU kit by Scrappin With Lil Ole Me called Silver Wings 

Font of choice, I am using Scriptina

Plugins: No outside plugins


Just remember that my choices of papers and elements is just a suggestion, change it up and make it yours! You don't have to follow mine exactly.

Add a drop shadow of your choosing to tubes & elements throughout. I usually use 1, 1, 50, 5 unless otherwise noted.


Let's get started!

Open a new canvas 950 x 950 pixels with a white background

Open element 19 copy and paste as a new layer, resize 110%
layer  use paper
click inside with your magic wand, selections, modify, expand 2
add a new raster layer below the frame
open paper 11, make sure you are on the new layer
copy and paste into selection, then deselect

Copy and paste your tube as a new layer, resize by 50%
arrange on the left side of the frame

now add your elements:

element 30 resize 55% arrange on top left, duplicate & mirror
element 108 resize 60% mirrir & arrange on bottom right
element 106 resize 50% arrange to the left of the wheel

element 6 arrange on left, above the tube layer, so it looks like she's sitting in the snow
element 126 resize 40% arrange below the element on the top right side
element 21 arrange behind and left of the tube

element 18 arrange to the right of and below element 21 layer, 
duplicate, mirror, drag below the other layers on that side, so it's just above the frame

element 8 resize 40% arrange behind and to the right of the tube
element 105 resize 40% arrange in front of tube in the snow
element 103 resize 40% arrange on the right side of the wheel

element 12 resize 50% mirror, rotate left 90 arrange under cluster on top right
element 33 resize 45% arrange between log and wheel layers
element 49 resize 45% arrange at the bottom edge of the snow the tube is sitting in
element 131 resize 45% arrange below the snowballs layer, erase the few that are over element 131

crop and resize
add your copyright and credits as needed
add your text and save

Friday, December 26, 2014

2015


Snaggable versions of this tag in my Fotki album

For this tutorial you will need the following:

Paint Shop Pro, I am using PSP X7, you should be able to use any version.

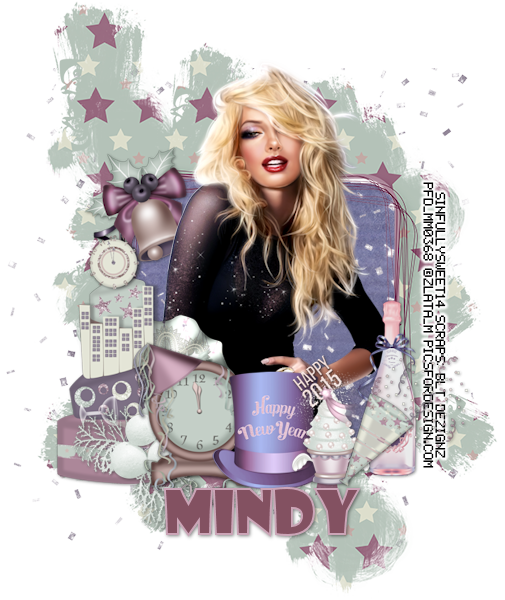
Tube of choice, I am using the artwork of Zlata M (New Year Night tube)
which you need a license to use.  

Scrap kit of choice. I am using a PTU kit, 2015, by BLT Dezignz 

Font of choice, I am using Showcard Gothic

Plugins: No outside plugins used


Just remember that my choices of papers and elements is just a suggestion, change it up and make it yours! You don't have to follow mine exactly.

Add a drop shadow of your choosing to tubes & elements throughout. I usually use 1, 1, 50, 5 unless otherwise noted.


Let's get started!

Open a new canvas 850 x 850 pixels with a white background

Open frame 2 copy and paste as a new layer resize 85%
click inside with your magic wand, selections, modify, expand 2, selections, invert
open paper 11 copy and paste as a new layer 
click delete on your keyboard

Copy and paste your tube as a new layer, resize by 75%
arrange in your frame
erase the bits that hang out of your frame where you don't want them

add your elements:
cake resize 50% arrange on bottom left corner
clock 2 resize 40% arrange to the right of the cake
bow 1 resize 35% arrange above & behind the other 2 elements
hat resize 30% arrange to the right of the clock
cupcake resize 30% arrange to the right of the hat
noise blower resize30 % arrange to the right of cupcake
branch 2 resize 40% arrange between cake and clock
bell resize 30% arrange between tube and frame layer on the top left
champagne resize 30% arrange behind noise blower on bottom right corner
confetti resize 75% arrange between frame and background paper

crop and resize
add your copyright and credits as needed
add your text and save

Wednesday, December 24, 2014

Let's Celebrate


Snaggable versions of this tag in my Fotki album

For this tutorial you will need the following:

Paint Shop Pro, I am using PSP X7, you should be able to use any version.

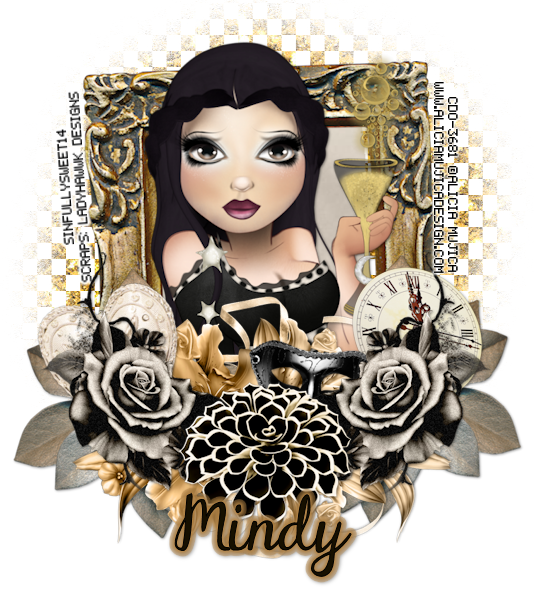
Tube of choice, I am using the artwork of  Alicia Mujica which you need a license to use.  
This tube is from the December 2014 Sweet Pack.

Scrap kit of choice. I am using a PTU kit by Niqui's Designs called Celebrate 2015 


Font of choice, I am using Ravie


Plugins: Alien Skin Eye Candy 4000 Gradient Glow (optional for lights)


Just remember that my choices of papers and elements is just a suggestion, change it up and make it yours! You don't have to follow mine exactly.

Add a drop shadow of your choosing to tubes & elements throughout. I usually use 1, 1, 50, 5 unless otherwise noted.


Let's get started!

Open your template, shift D to duplicate and close the original
Delete the following layers: CR, 1, 11, 12, 13
Change your canvas size to 850 x 700 so you have room to work

Fill the layers with papers, to do this make sure the layer you want to fill has been clicked on in your layer palette. 
Click outside the shape with your magic wand,  open your paper, copy and paste as a new layer, 
click delete on your keyboard.
Delete the original template layer

Some layers, like the frames, you may just want to flood fill with a color from your kit. To do this, click on the layer in your layer palette, add another raster layer above it,
click outside the shape with your magic wand, and flood fill it with your color
Delete the original template layer

I used the following papers for each layer
layer 2 use paper 6
layer 3 use paper 6
layer 4 use paper 7
layer 5 use paper 7
layer 6 use paper 11
layer 7 leave as is
layer 8 use paper 15
layer 9  leave as is
layer 10 leave as is


Make the big oval layer in the center active, click outside it with your magic wand
copy and paste your tube, arrange it in the oval on the left side, click delete on your keyboard

Paste your tube again, resize 28% arrange in the middle of the template

Now add your elements:
element 28 resize 45% arrange on bottom left side
element 25 resize 45% arrange on bottom right side
element 46 resize 30% arrange to the left of the tree

element 45 resize 33% arrange to the left of the champagne bottle
element 53 resize 25% arrange to the right of the element cluster on the left side
element 6 resize 35% arrange bottom center

element 9 resize 45% arrange across top
apply gradient glow 5 fat, color #d5b55f

element 21 resize 40% arrange on top left,below the template layers,
duplicate & mirror

element 2 resize 25% arrange at the bottom
apply gradient glow width 10 fat, white and #d5b55f


crop and resize
add your copyright and credits as needed
add your text and save

Sunday, December 21, 2014

Celebrate 2015


Snaggable versions of this tag in my Fotki album

For this tutorial you will need the following:

Paint Shop Pro, I am using PSP X7, you should be able to use any version.

Tube of choice, I am using the artwork of Alicia Mujica CDO Exclusive Tube 9A which you need a license to use.  This tube is not available at her store here, only at CDO where it is linked above.

Scrap kit of choice. I am using a PTU scrap kit by Ladyhawwk Designs, IB-AliciaMujica Exclusive Tube 9A

Font of choice, I am using DJB Dear St. Nick

Mask DBV109

Plugins:  Alien Skin Eye Candy 4000 Gradient Glow (optional for text)


Just remember that my choices of papers and elements is just a suggestion, change it up and make it yours! You don't have to follow mine exactly.

Add a drop shadow of your choosing to tubes & elements throughout. I usually use 1, 1, 50, 5 unless otherwise noted.


Let's get started!

Open a new canvas 950 x 950 pixels with a white background

open frame 1 copy and paste as a new layer resize 95%
click inside with your magic wand, selections, modify, expand 2, selections, invert
open paper 7 copy and paste as a new layer 
click delete on your keyboard,

Copy and paste your close up tube as a new layer, arrange in the frame

add your elements:
element 21 resize 85% then 90% arrange on bottom right, duplicate & mirror
element 31 resize 50% arrange on bottom right, duplicate & mirror
element 32 resize 50% arrange across the bottom below the black flower layers

element 14 resize 50% arrange on the right, behind the black flower
element 18 resize 65% rotate left 30 arrange below black flower layer on left
duplicate the gold colored flower cluster, then flip it and drag down so it shows below element 18
element 1 resize 45% arrange below black flowers on bottom right

add paper 5 above the white background
apply mask and merge group

crop and resize
add your copyright and credits as needed
add your text and save

Friday, December 19, 2014

Hot Cocoa Christmas


Snaggable versions of this tag in my Fotki album

For this tutorial you will need the following:

Paint Shop Pro, I am using PSP X7, you should be able to use any version.

Tube of choice, I am using the artwork of Alicia Mujica (CDO Exclusive tube 9B) which you need a license to use.  This tube is not available in Alicia's store, as it is a CDO exclusive tube and is only available at CDO. You use your CDO license with this tube.

Scrap kit of choice. I am using a PTU kit, Hot Cocoa Kisses Mega Kit by Monti  

Font of choice, I am using


Plugins: no outside plugins


Just remember that my choices of papers and elements is just a suggestion, change it up and make it yours! You don't have to follow mine exactly.

Add a drop shadow of your choosing to tubes & elements throughout. I usually use 1, 1, 50, 5 unless otherwise noted.


Let's get started!

Open a new canvas 850 x 850 pixels with a white background

Copy and paste your tube as a new layer

now add your elements:
element 80 arrange behind tube on left
element 8 arrange on the right behind the tube and tree
element 50 resize 60% arrange between tube and house on bottom right
element 65 resize 40% arrange in front of tree on left
element 67 resize 40% arrange to the right of the other gift
element 7 resize 35% mirror & arrange on bottom right
element 90 resize 35% arrange on bottom right
element 26 resize 25% arrange on bottom left
element 27 resize 25% arrange to the right of the cup

Copy and paste paper 6 above the white background
apply your mask and merge group

crop and resize
add your copyright and credits as needed
add your text and save

Believe


For this tutorial you will need the following:

Paint Shop Pro, I am using PSP X7, you should be able to use any version.

Tube of choice, I am using the artwork of Karen Anne Brady (I Do Believe tube) which you need a license to use.  

Scrap kit of choice. I am using Dear Santa by Scrappin With Lil Ole Me

Font of choice, I am using Believer Fever

Mask: WSLMask 84 links to masks are on the right sidebar

Plugins: Alien Skin Eye Candy for font (optional)


Just remember that my choices of papers and elements is just a suggestion, change it up and make it yours! You don't have to follow mine exactly.

Add a drop shadow of your choosing to tubes & elements throughout. I usually use 1, 1, 50, 5 unless otherwise noted.


Let's get started!

Open a new canvas 850 x 850 pixels with a white background

open element 56 copy and paste as a new layer resize 80%
click inside with your magic wand, selections, modify, expand 2, selections, invert
open paper 12  copy and paste as a new layer 
click delete on your keyboard,
Copy and paste your tube as a new layer, resize by 55%
arrange in your frame
erase the bits that hang out of your frame where you don't want them

add your elements
element 123 resize 75% arrange on left side
element 28 resize 45% arrange under the tree on the left
element 132 resize 40% arrange to the right of the other presents
element 3 resize 40% arrange to the right of the other elements
element 78 resize 40% arrange to the right of and behind the drum layer
element 84 resize 45% arrange on bottom right corner
element 22 resize 40% arrange in front of presents

open paper 8, copy and paste as a new layer above the white background
apply your mask, merge group

crop and resize
add your copyright and credits as needed
add your text and save
Thursday, December 18, 2014

Santa Baby


Snaggable versions of this tag in my Fotki album

For this tutorial you will need the following:

Paint Shop Pro, I am using PSP X7, you should be able to use any version.

Tube of choice, I am using the artwork of Misticheskaya Christine tube which you need a license to use.  

Scrap kit of choice. I am using Santa Baby a PTU kit by BLT Dezignz  

Font of choice, I am using Ravie

Plugins: no outside plugins used


Just remember that my choices of papers and elements is just a suggestion, change it up and make it yours! You don't have to follow mine exactly.

Add a drop shadow of your choosing to tubes & elements throughout. I usually use 1, 1, 50, 5 unless otherwise noted.


Let's get started!

Open a new canvas 850 x 850 pixels with a white background

open frame 2 copy and paste as a new layer
click inside with your magic wand, selections, modify, expand 2, selections, invert
open paper 2 copy and paste as a new layer 
click delete on your keyboard,

Copy and paste your tube as a new layer, resize by 70%
arrange in your frame
erase the bits that hang out of your frame where you don't want them

add your elements:
cake resize 45% arrange on bottom left
gift resize 35% arrange to the right of cake
shoes resize 35% arrange in front of cake and gift
flower resize 45% arrange behind and to the right of the gift
bling 2 resize 65% arrange on top of the flower
tag resize 55% arrange behind and to the right of the flower


crop and resize
add your copyright and credits as needed
add your text and save
Wednesday, December 17, 2014

Alicia Mujica CT Tag Show Off

New tags using Alicia Mujica's new tube which is free to you 
with any 4 Euro purchase in her store in the month of December 2014
Make your purchase then email her your receipt and she will send you the tube.

Scrap kit used is also by Alicia Mujica called December 2014 and is in her store.

Snaggable versions of these tasg in my Fotki album

North Pole Toon


Snaggable versions of this tag in my Fotki album

For this tutorial you will need the following:

Paint Shop Pro, I am using PSP X7, you should be able to use any version.

Tube of choice, I am using the artwork of Pinup Toons which you need a license to use.
This tube is the December 2013 bonus tube that was available with a $10 purchase in that month.
You cannot get it anymore unless CDO does a bonus bonanza which they are doing right now through December 25th, 2014.  

Scrap kit of choice. I am using a kit from Creative Scraps by Crys called Country Christmas 

Font of choice, I am using Scriptina


Plugins: No outside plugins


Just remember that my choices of papers and elements is just a suggestion, change it up and make it yours! You don't have to follow mine exactly.

Add a drop shadow of your choosing to tubes & elements throughout. I usually use 1, 1, 50, 5 unless otherwise noted.


Let's get started!

Open a new canvas 850 x 850 pixels with a white background

open frame 1 copy and paste as a new layer
click inside with your magic wand, selections, modify, expand 2, selections, invert
open paper 7 copy and paste as a new layer 
click delete on your keyboard

Copy and paste your tube as a new layer, 
arrange in your frame
erase the bits that hang out of your frame where you don't want them
then deselect

add your elements:
element 21 arrange on the left between tube and frame layers
element 29 resize 50% arrange in front of tree on left
element 22 resize 50% arrange in front of the tree to the left of the sign
element 27 resize 30% arrange on top of the gift
element 36 resize 45% arrange to the right of the gift, erase the stone path
element 26 resize 65% arrange across bottom of frame, below gingerbread house layer
element 8 arrange behind other layers on the bottom


crop and resize
add your copyright and credits as needed
add your text and save
Sunday, December 14, 2014

Christmas Magic


Snaggable versions of this tag in my Fotki album

For this tutorial you will need the following:

Paint Shop Pro, I am using PSP X7, you should be able to use any version.

Tube of choice, I am using the artwork of Ismael Rac (Miss X 2014 tube) which you need a license to use.  

Scrap kit of choice. I am using a PTU kit, Holiday Magic by Scrappin With Lil Ole Me 

Font of choice, I am using Showcard Gothic

Plugins: no outside plugins


Just remember that my choices of papers and elements is just a suggestion, change it up and make it yours! You don't have to follow mine exactly.

Add a drop shadow of your choosing to tubes & elements throughout. I usually use 1, 1, 50, 5 unless otherwise noted.


Let's get started!

Open a new canvas 850 x 850 pixels with a white background

open element 133 copy and paste as a new layer 
click inside with your magic wand, selections, modify, expand 2, selections, invert
open paper 24 copy and paste as a new layer below the frame
arrange in your frame, click delete on your keyboard
leave selected, copy and paste your tube as a new layer
resize 50%
erase the bits that hang out of the frame where you don't want them


Now add your elements:
element 29 resize 50% arrange on left side
element 4 resize 45% arrange on right side
element 110 resize 45% arrange just left of bottom center

element 89 resize 45% arrange to the right of the wheel
element 97 resize 35% arrange on far left, in front of tree
element 119 resize 45% arrange in front of wheel, below
 pails of snowballs layer, duplicate, drag to the far right

element 138 resize 35% arrange in front of snowman layer
element 15 resize 45% arrange between tree & snowman on the left
element 46 resize 25% arrange beween pails of snowballs & the 
other layers so it looks like it's in the snow

element 68 resize 45% arrange below snow layer on right
element 62 resize 25% arrange in front of buckets
element 3 resize 25% arrange beween buckets and pine branch on right

element 45 resize 35% arrange behind pin branches on right
element 44 resize 35% arrange between pink leaves and Santa sign on right

element 101 arrange on left side above the white background, duplicate, rotate right 25
arrange it so it just overlaps the original, duplicate again, rotate right 25, drag up so it 
just overlaps the 2nd layer
keep doing this until you have enough to go around the top completely
going as far around the tag as you want.

If you have mura copies, you could also do this with the settings in mura using encircle
I have a version of windows and PSP that this plugin doesn't work with, do I had
to do it manually


crop and resize
add your copyright and credits as needed
add your text and save
Friday, December 12, 2014

Santa's Reindeer


Snaggable versions of this tag in my Fotki album

For this tutorial you will need the following:

Paint Shop Pro, I am using PSP X7, you should be able to use any version.

Tube of choice, I am using the artwork of Keith Garvey, Sexy Reindeer & the Santa tube which are free tubes in his store, which you need a license to use.  

Scrap kit of choice. I am using a PTU kit, Christmas with Alyce by Scrappin With Lil Ole Me 

Font of choice, I am using Christmas Card

links to her masks are down the page a little bit and on the right sidebar

Plugins: No outside plugins


Just remember that my choices of papers and elements is just a suggestion, change it up and make it yours! You don't have to follow mine exactly.

Add a drop shadow of your choosing to tubes & elements throughout. I usually use 1, 1, 50, 5 unless otherwise noted.


Let's get started!

Open a new canvas 950 x 950 pixels with a white background

open element 29 copy and paste as a new layer, resize 90%
click inside with your magic wand, selections, modify, expand 2, selections, invert
open paper 27 copy and paste as a new layer 
click delete on your keyboard,

Copy and paste your Santa tube as a new layer,
arrange in your frame
click delete on your keyboard, make sure Santa is under the frame layer

Copy and paste your main tube as a new layer, mirror & arrange in front of the window

now add your elements:
element 40 resize 75% arrange on the right side of window
element 91 resize 55% mirror & arrange between chair and tube on the right
element 39 resize 90% arrange on left side of window
element 38 resize 45% arrange in front of tree on left side
element 49 resize 40% arrange to the left of the other gift
element 12 resize 35% arrange behind tube to the right of element 49
element 109 resize 25% arrange in front of santa bag and chair
element 35 resize 25% arrange in tree
element 31 resize 28% arrange by chair

copy and paste paper 20 above the white background
add your mask and merge group, resize 110%
I then erased the parts of the mask that was showing at the very bottom

crop and resize
add your copyright and credits as needed
add your text and save
Thursday, December 11, 2014

Noel Angel


For this tutorial you will need the following:

Paint Shop Pro, I am using PSP X7, you should be able to use any version.

Tube of choice, I am using the artwork of Alicia Mujica (tube is a free gift for December 2014 when you purchase 4 euros or more in her store) which you need a license to use.  

Scrap kit of choice. I am using a PTU kit, Noel, by BLT Dezignz 

Font of choice, I am using Scriptina


Plugins: No outside plugins


Just remember that my choices of papers and elements is just a suggestion, change it up and make it yours! You don't have to follow mine exactly.

Add a drop shadow of your choosing to tubes & elements throughout. I usually use 1, 1, 50, 5 unless otherwise noted.


Let's get started!

Open a new canvas 850 x 850 pixels with a white background

open frame 4 copy and paste as a new layer
click inside with your magic wand, selections, modify, expand 2, selections, invert
open paper 11 copy and paste as a new layer 
click delete on your keyboard

Copy and paste your tube as a new layer, resize by 50%
arrange in your frame
erase the bits that hang out of your frame where you don't want them

Now add your elements:
foliage 1 resize 45% arrange on bottom right
cluster  resize 45% arrange to the left of the other element
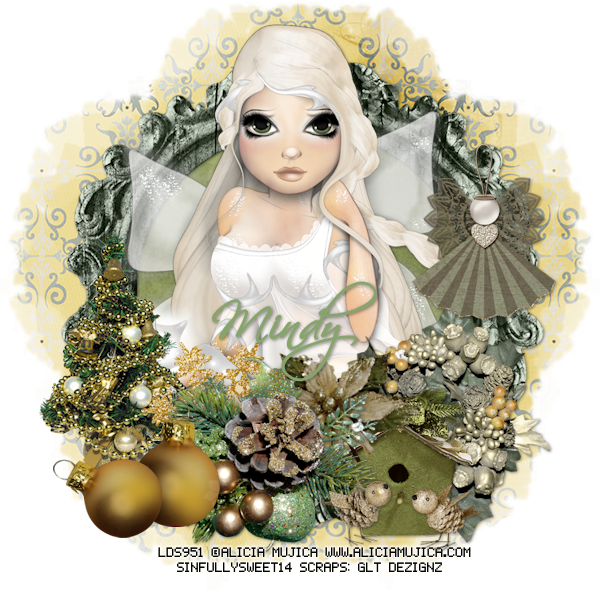
 birdhouse resize 45% arrange between the cluster & foilage
angel  resize 45% arrange on right side
flower resize 40% rotate left 35 arrange behind birdhouse
christmas tree resize 45% arrange on left side
snowflake 1 resize 45% arrange on left side below other elements
ornaments 2 resize 35% arrange on bottom left
 birds resize 35% arrange in front of birdhouse

add paper 5 above the white background
apply your mask, merge group
duplicate several times and merge all the mask layers together
so it will be darker and show up better
resize it 105%

crop and resize
add your copyright and credits as needed
add your text and save

Tuesday, December 9, 2014

Miss Cupcake


For this tutorial you will need the following:

Paint Shop Pro, I am using PSP X7, you should be able to use any version.

Tube of choice, I am using the artwork of Anna Marine-Individual Tube 47-3 which you need a license to use.  It is available at CDO

Scrap kit of choice. I am using Ladyhawwk Designs PTU kit IB-Anna Marine Individual Tube 47- 3 kit available at CDO 

Font of choice, I am using Scriptina


Plugins: No outside plugins used


Just remember that my choices of papers and elements is just a suggestion, change it up and make it yours! You don't have to follow mine exactly.

Add a drop shadow of your choosing to tubes & elements throughout. I usually use 1, 1, 50, 5 unless otherwise noted.


Let's get started!

Open a new canvas 850 x 850 pixels with a white background

Open frame 4 copy and paste as a new layer 
click inside with your magic wand, selections, modify, expand 4, selections, invert
open paper 1 copy and paste as a new layer arrange in the frame,
click delete on your keyboard

Copy and paste your tube as a new layer
arrange in your frame
erase the bits that hang out of your frame where you don't want them

add the following:
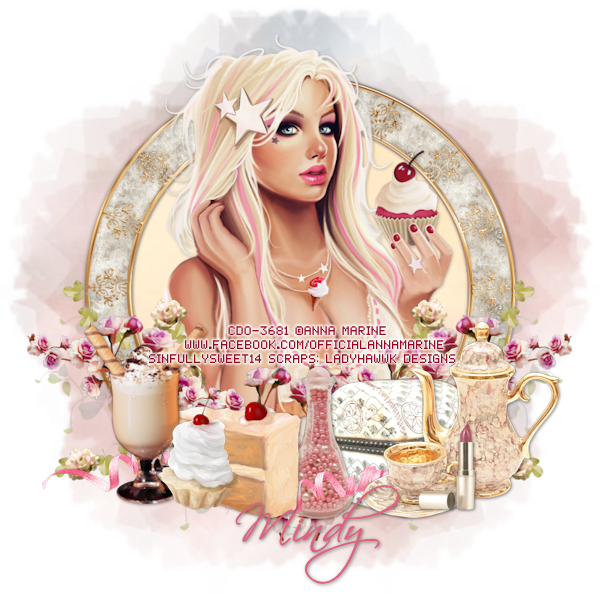
element 47 resize 65% arrange on bottom left, duplicate & mirror
element 23 resize 65% arrange below pink roses on right, duplicate & mirror
element 30 resize 55% arrange on bottom right

element 9 resize 50% arrange to the left of the teacup
element 16 resize 55% arrange behind the teacup
element 32 resize 60% arrange on bottom left

element 19 resize 40% arrange to the left of element 32
element 47 resize 55% arrange between cupcake and bottle
element 1 resize 40% arrange in front of teapot

duplicate the pink roses on the left twice
drag them over so the tops of them show over the elements at the bottom
take your eraser tool and erase the bits that show below the other elements

element 35 resize 45% arrange on bottom between the elements (behind teapot and in front of bottle and white box)
duplicate, mirror, arrange on the left behind the elements

copy and paste paper 2 above the white background
apply your mask, merge group
duplicate 3 or 4 times and merge together so it's a bit darker

crop and resize
add your copyright and credits as needed
add your text and save
Monday, December 8, 2014

Winter 2014


Snaggable versions of this tag in my Fotki album

For this tutorial you will need the following:

Paint Shop Pro, I am using PSP X7, you should be able to use any version.

Tube of choice, I am using the artwork of Alicia Mujica (Winter 2014 tube) which you need a license to use.  

Scrap kit of choice. I am using a PTU kit by Niqui's Designs called Christmas Fun  

Font of choice, I am using Pristina

Plugins: Either Xero Radience or built in plugin Vignette


Just remember that my choices of papers and elements is just a suggestion, change it up and make it yours! You don't have to follow mine exactly.

Add a drop shadow of your choosing to tubes & elements throughout. I usually use 1, 1, 50, 5 unless otherwise noted.


Let's get started!

Open a new canvas 350 x 500 pixels with a white background

copy and paste paper 12 as a new layer

copy and paste your tube as a new layer, arrange in canvas

take your crop tool, make sure you are on the white background layer
have the "snap crop rectangle" at the top set to "layer opaque"
and double click on your canvas

duplicate your tube, on the bottom layer go to photo effects vignette (or you can use Xero Porcelain if you have that plugin, I can't get it to work with PSP X7 & windows 8)
use the following settings:
dark/light 8
blur 20
diffuse glow 8
feather edge 50

on the top layer, adjust blur, gaussian, 3 set to overlay, drop opacity to 70


add the following elements
element 41 paste over the tube
element 5 resize 45% arrange on bottom left
element 2 resize 25% arrange behind and to the right of the tree
element 9 resize 35% arrange on bottom right corner
element 26 resize 25% arrange between present and gingerbread house
element 23 resize 25% rotate right 25 arrange behind gift
element 6 resize 55% arrange behind tree

crop your canvas again
make sure you are on the white background layer still
selections, select all, modify, set selection borders at 5
add a new raster layer at the top
flood fill with #cc1d23


add your copyright and credits as needed
add your text and save
Sunday, December 7, 2014

CT Tag Show Off


New tag using Alicia Mujica's Winter 2014 tube
Snag tags in my Fotki album

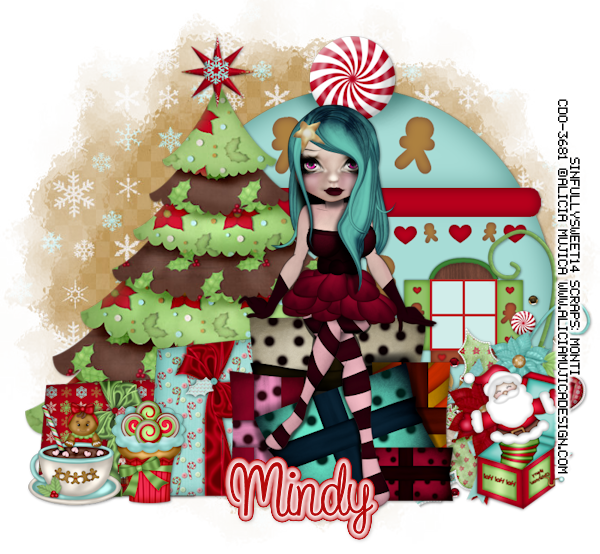
Waiting For Christmas


Snaggable versions of this tag in my Fotki album

For this tutorial you will need the following:

Paint Shop Pro, I am using PSP X7, you should be able to use any version.

Tube of choice, I am using the artwork of Misticheskaya (Christine tube) which you need a license to use.  

Scrap kit of choice. I am using a PTU kit by Bella Caribena called A Gift From Lucia  

Font of choice, I am using Script MT Bold


Plugins: no outside plugins


Just remember that my choices of papers and elements is just a suggestion, change it up and make it yours! You don't have to follow mine exactly.

Add a drop shadow of your choosing to tubes & elements throughout. I usually use 1, 1, 50, 5 unless otherwise noted.


Let's get started!

Open a new canvas 850 x 850 pixels with a white background

Copy and paste your tube as a new layer, resize by 35%

add the following elements
element88 arrange behind tube layer
element 4 arrange on the right side of fireplace
element 31 resize 65% arrange in front of fireplace on right
element 97 resize 50% arrangek to the left of the other gifts
element 51 resize 40% arrange in front of tree
element 83 resize 30% arrange in front of tube
element 16 resize 30% arrange above mantel

crop and resize
add your copyright and credits as needed
add your text and save
Saturday, December 6, 2014

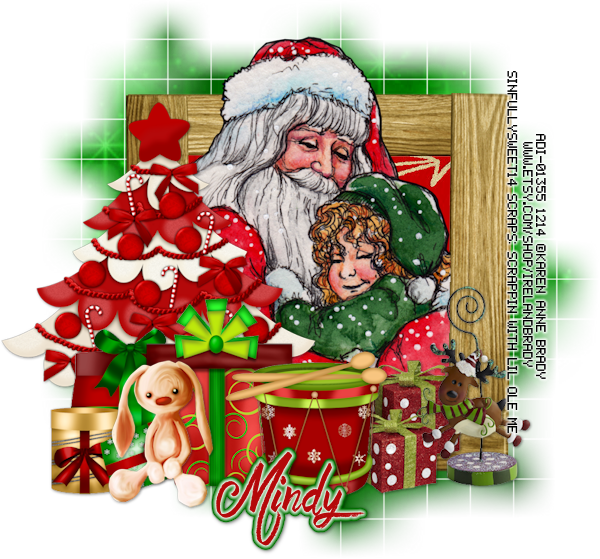
Waiting For Santa


Snaggable versions of this tag in my Fotki album

For this tutorial you will need the following:

Paint Shop Pro, I am using PSP X7, you should be able to use any version.

Tube of choice, I am using the artwork of Alicia Mujica which you need a license to use.  
This tube is Mama Noel from Alicia's Black Friday pack

Scrap kit of choice. I am using a PTU kit, Santa Claus by BLT Dezignz  
I have the tagger sized kit, if you have the full size your resizing percentages will be different

Font of choice, I am using Showcard Gothic

Mask: WSL84

Plugins: no outside plugins


Just remember that my choices of papers and elements is just a suggestion, change it up and make it yours! You don't have to follow mine exactly.

Add a drop shadow of your choosing to tubes & elements throughout. I usually use 1, 1, 50, 5 unless otherwise noted.


Let's get started!

Open a new canvas 850 x 850 pixels with a white background

Copy and paste your tube as a new layer, resize by 35%

add the following 

wreath, arrange behind tube
click inside with your magic wand, selections, modify, expand 10, selections, invert
open paper 5 copy and paste as a new layer resize 45%
click delete on your keyboard, deselect
merge the paper and wreath together, resize 100%

boot resize 35% arrange on bottom right
gift 3 resize 35% arrange to the left of and behind boot layer
gift 2 resize 45% arrange in front of and to the left of gift 3
star resize 40% rotate right 25 arrange below tube layer on the right

bird resize30 % arrange on gift at the bottom
flower 2 resize 50% arrange arrange on left side below tube layer
foliage resize 45% rotate left 25 arrange below flower 2 on left
wordart resize 35 arrange on left

copy and paste paper 11 above the white background
apply mask, merge group, resize by 105%

crop and resize
add your copyright and credits as needed
add your text and save