Pages

Showing posts with label Niqui's Design CT. Show all posts

Thursday, April 9, 2015

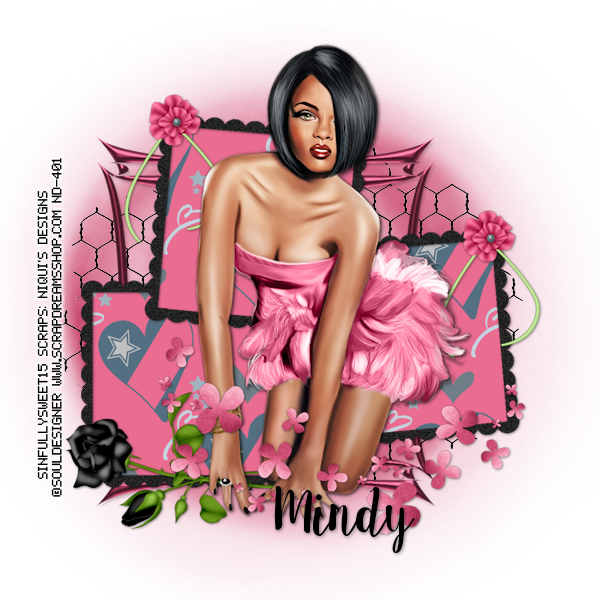
Ebony


Snaggable versions of this tag in my Fotki album

For this tutorial you will need the following:

Paint Shop Pro, I am using PSP X7, you should be able to use any version.

Tube of choice, I am using the artwork of Souldesigner (Ebony tube) which you need a license to use.  

Scrap kit of choice. I am using the matching PTU kit by Niqui's Designs, also called Ebony. 

Font of choice, I am using Sweet Pea

Plugins: No outside plugins


Just remember that my choices of papers and elements is just a suggestion, change it up and make it yours! You don't have to follow mine exactly.

Add a drop shadow of your choosing to tubes & elements throughout. I usually use 1, 1, 50, 5 unless otherwise noted.


Let's get started!

Open a new canvas 850 x 850 pixels with a white background

Open element 26 copy and paste as a new layer, resize 75%, rotate left 90
click inside with your magic wand, selections, modify, expand 2, selections, invert
open paper 15 copy and paste as a new layer 
click delete on your keyboard, deselect

Copy and paste your tube as a new layer, resize by 55%
arrange in center of the frame area

Now add your elements:
element 31 resize 35% arrange on the right side of frame, duplicate, arrange on top left side
element 52 arrange behind frame and background paper
element 42 resize 175% arrange behind wire
element 53 rotate left 90 arrange on bottom over tube layer
element 68 resize 65% rotate left 90, arrange on bottom left below tube layer
element 10 resize 85% arrange just between the frame layer & the wire layer


crop and resize
add your copyright and credits as needed
add your text and save

Saturday, March 28, 2015

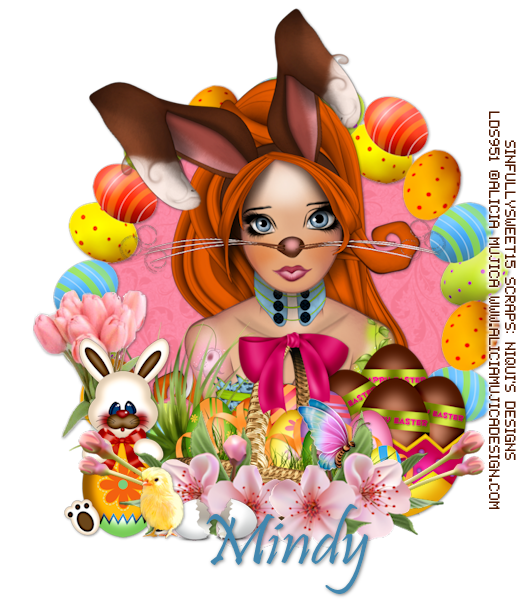
Easter


Snaggable versions of this tag in my Fotki album

For this tutorial you will need the following:

Paint Shop Pro, I am using PSP X7, you should be able to use any version.

Tube of choice, I am using the artwork of Alicia Mujica (Easter Surprise tube)
which you need a license to use.  

Scrap kit of choice. I am using a PTU kit Blessed Easter by Niqui's Designs  

Font of choice, I am using Bolina

Mask of your choice

Plugins: No outside plugins


Just remember that my choices of papers and elements is just a suggestion, change it up and make it yours! You don't have to follow mine exactly.

Add a drop shadow of your choosing to tubes & elements throughout. I usually use 1, 1, 50, 5 unless otherwise noted.


Let's get started!

Open a new canvas 850 x 850 pixels with a white background

Open element 10 copy and paste as a new layer, resize 55% 
Open element 55 copy and paste as a new layer, resize 90% 

click inside element 10 with your magic wand, selections, modify, expand 2, selections, invert
open paper 3 copy and paste as a new layer 
click delete on your keyboard, deselect

Copy and paste your tube as a new layer above both frames, resize by 50%
Arrange over the frame 

Now add your elements:
element 11 resize 45% arrange on bottom right side of tube
element 9 resize 45% arrange on bottom left behind the tube layer
element 35 resize 25% arrange in front of basket
element 1 resize 25% arrange on bottom right
element 41 resize 45% arrange on right above the frames, duplicate & mirror

Copy and paste paper 4 above the white background
apply your mask and merge group


crop and resize
add your copyright and credits as needed
add your text and save
Thursday, March 19, 2015

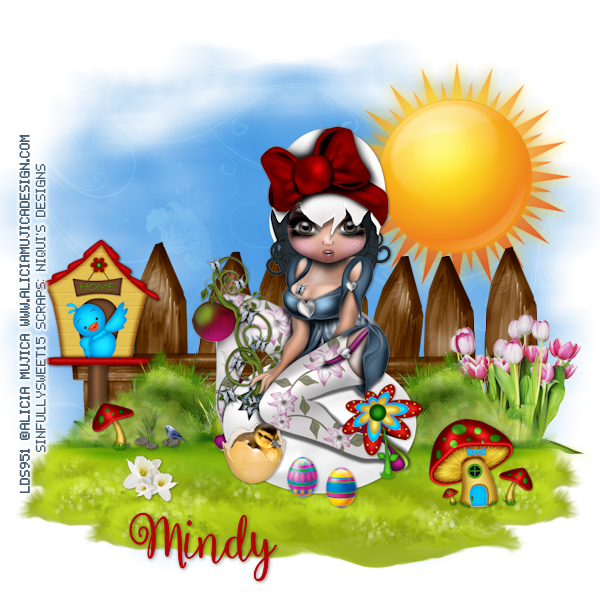
Spring Is Here


Snaggable versions of this tag in my Fotki album

For this tutorial you will need the following:

Paint Shop Pro, I am using PSP X7, you should be able to use any version.

Tube of choice, I am using the artwork of Alicia Mujica (White Snow Easter tube)
which you need a license to use.  

Scrap kit of choice. I am using a PTU kit by Niqui's designs called Spring Is Here 

Font of choice, I am using Ballerina Script

Mask: Becky Mask 23 which is no longer available online
if you don't have it, you could use something else, any mask you like will do

Plugins: no outside plugins


Just remember that my choices of papers and elements is just a suggestion, change it up and make it yours! You don't have to follow mine exactly.

Add a drop shadow of your choosing to tubes & elements throughout. I usually use 1, 1, 50, 5 unless otherwise noted.


Let's get started!

Open a new canvas 950 x 950 pixels with a white background

Copy and paste your tube as a new layer, resize by 45%

add the following elements from your kit:
element 1 resize 60% arrange on left behind tube, duplicate, drag right, erase where they overlap
then merge the two layers together

element 53 arrange in front of fence arrange on left, duplicate & mirror
element 9 arrange below tube, duplicate about 4 times, arrange around canvas below the tube & elements 53 so the canvas has a nice grassy area

element 7 resize 45% arrange on right between fence and grass
element 32 resize 55% arrange on left between grass and fence
element 34 resize 25% arrange by tube

element 69 resize 25% arrange in front of tube to the left of the flower
element 5 resize 25% arrange on left side of tube
element 29 resize 30% arrange on bottom right

element 39 resize 30% arrange by grass & fence on left
element 23 resize 25% arrange on left, erase the small flower at the top
element 30 resize 75% arrange on right side above the white background

Apply paper 4 above the white background layer,
apply your mask, merge group
If you used the same mask as me, resize it 90%, drag to the left, duplicate, mirror, and merge together

crop and resize
add your copyright and credits as needed
add your text and save
Sunday, March 8, 2015

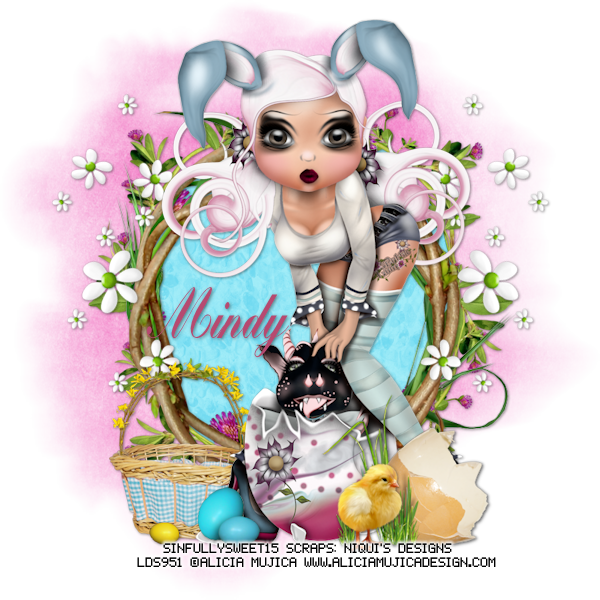
Easter Bliss


Snaggable versions of this tag in my Fotki album

For this tutorial you will need the following:

Paint Shop Pro, I am using PSP X7, you should be able to use any version.

Tube of choice, I am using the artwork of Alicia Mujica (Happy Easter) 
which you need a license to use.  

Scrap kit of choice. I am using a PTU kit, Easter Bliss by Niqui's Designs 

Font of choice, I am using Pristina

Plugins: No outside plugins used


Just remember that my choices of papers and elements is just a suggestion, change it up and make it yours! You don't have to follow mine exactly.

Add a drop shadow of your choosing to tubes & elements throughout. I usually use 1, 1, 50, 5 unless otherwise noted.


Let's get started!

Open a new canvas 950 x 950 pixels with a white background

Open element 69 copy and paste as a new layer, resize 70% 
click inside with your magic wand, selections, modify, expand 2, selections, invert
open paper 4 copy and paste as a new layer 
click delete on your keyboard, leave selected

Copy and paste your tube as a new layer, resize by 60%
arrange in your frame
erase the bits that hang out of your frame where you don't want them

Now add your elements:
element 27 resize 60% arrange bottom center of frame
element 21 resize 60% arrange in front of basket on left, duplicate & mirror
element 49 resize 50% arrange on left below the flower & basket layers

element 37 resize 50% arrange on bottom right, below the basket
element 7 resize 20% mirror & arrange on bottom left
element 30 resize 20% arrange beside the chick

element 1 resize 55% arrange in the space between the rabbit and basket, behind both layers
element 57 resize 70% arrange behind rabbit on left
element 29 resize 30% arrange by flowers on bottom


crop and resize
add your copyright and credits as needed
add your text and save
Thursday, February 26, 2015

Lucky Eileen


Snaggable versions of this tag in my Fotki album

For this tutorial you will need the following:

Paint Shop Pro, I am using PSP X7, you should be able to use any version.

Tube of choice, I am using the artwork of Alicia Mujica (Eileen tube) 
which you need a license to use.  

Scrap kit of choice. I am using a PTU kit Lucky Me by Niqui's Designs 

Font of choice, I am using Kristen ITC

Mask of your choice

Plugins: no outside plugins


Just remember that my choices of papers and elements is just a suggestion, change it up and make it yours! You don't have to follow mine exactly.

Add a drop shadow of your choosing to tubes & elements throughout. I usually use 1, 1, 50, 5 unless otherwise noted.


Let's get started!

Open a new canvas 850 x 850 pixels with a white background

Open element 13 copy and paste as a new layer resize 55%
click inside with your magic wand, make sure to get inside all the parts in the clovers
selections, modify, expand 2, selections, invert
open paper 4 copy and paste as a new layer 
click delete on your keyboard,

Copy and paste your tube as a new layer, resize by 65%
arrange in your frame
erase the bits that hang out of your frame where you don't want them

add the following elements:
element 8 arrange across the top, erase what hangs over the frame edges
element 26 resize 45% arrange over the clover on the bottom right corner
element 43 resize 45% arrange to the left of the hat
element 25 resize 45% arrange to the left of the bottle 
element 8 resize 25% arrange below the pot of gold element
element 30 resize 55% arrange on right side below the hat element
element 28 resize 25% arrange by pot of gold

Add paper 1 above the white background
apply your mask, merge group

crop and resize
add your copyright and credits as needed
add your text and save
Saturday, February 14, 2015

St. Paddy's


For this tutorial you will need the following:

Paint Shop Pro, I am using PSP X7, you should be able to use any version.

Tube of choice, I am using the artwork of Ismael Rac (2014 Candy Pigtails tube)
which you need a license to use.  

Scrap kit of choice. I am using   a PTU kit, St. Paddy's Day by Niqui's Designs

Font of choice, I am using Irish Unicalfabeta

Plugins: no outside plugins


Just remember that my choices of papers and elements is just a suggestion, change it up and make it yours! You don't have to follow mine exactly.

Add a drop shadow of your choosing to tubes & elements throughout. I usually use 1, 1, 50, 5 unless otherwise noted.


Let's get started!

Open a new canvas 850 x 850 pixels with a white background

Open element 7 copy and paste as a new layer 
click inside with your magic wand, selections, modify, expand 2, selections, invert
open paper 12 copy and paste as a new layer 
click delete on your keyboard, leave selected

Copy and paste your tube as a new layer, resize by 61%
arrange in your frame
erase the bits that hang out of your frame where you don't want them

add your elements
element 62 resize 60% arrange on bottom left
element 45 resize 45% arrange behind element 62
element 63 resize 45% arrange to the right of element 62

element 40 resize 35% arrange to the right of the goody bag
element 61 resize 35% arrange on the bottom right

element 28 resize 35% arrange on top right, duplicate, mirror, merge together,
duplicate & drag down, merge together


crop and resize
add your copyright and credits as needed
add your text and save

Tuesday, January 27, 2015

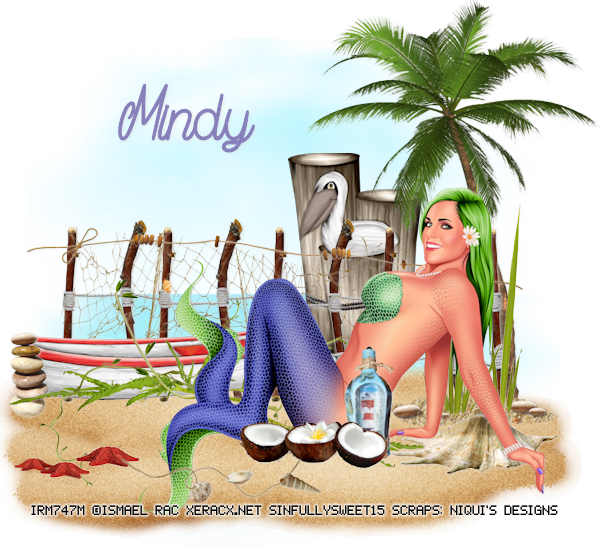
Beach Time


Snaggable versions of this tag in my Fotki album

For this tutorial you will need the following:

Paint Shop Pro, I am using PSP X7, you should be able to use any version.

Tube of choice, I am using the artwork of Ismael Rac (2015 Sea Beauty)
which you need a license to use. This tube was a special buy tube for making a purchase in the store 
and is not regularly available in the store.

Scrap kit of choice. I am using a PTU kit Beach Time by Niqui's Designs 

Font of choice, I am using Magic Bean Salade

Mask of your choice 
(the one I am using is no longer available online)

Plugins: No outside plugins


Just remember that my choices of papers and elements is just a suggestion, change it up and make it yours! You don't have to follow mine exactly.

Add a drop shadow of your choosing to tubes & elements throughout. I usually use 1, 1, 50, 5 unless otherwise noted.


Let's get started!

Open a new canvas 850 x 850 pixels with a white background

Copy and paste paper 4, apply mask, merge group

Now add the following:
element 6 resize 75% arrange at the bottom of the mask
Copy and paste your tube as a new layer, resize by 35% arrange by fence on right

element 12 duplicate twice, mirror one & arrange them around so they're covering the space around the fence

element 28 arrange along the fence near the top
element 5 resize 60% arrange on right side of fence
element 31 arrange along the bottom edge of the fence on the left

element 56 resize 50% arrange behind the fence in the middle area
element 49 mirror & arrange on right, behind tube & fence
element 60 resize 60% arrange between grass and fence on left side

element 40 resize 45% arrange below & right of the tube layer so it looks like it's between her hands
element 24 resize 20% arrange on the left side of the boat
element 23 resize 35% arrange by tube

element 34 resize 35% arrange by tube to the right of the blue bottle
element 33 resize 35% arrange in the sand on the left
element20  resize 35% arrange on the sand


crop and resize
add your copyright and credits as needed
add your text and save

Tuesday, January 13, 2015

I Love You


Snaggable versions of this tag in my Fotki album

For this tutorial you will need the following:

Paint Shop Pro, I am using PSP X7, you should be able to use any version.

Tube of choice, I am using the artwork of Alicia Mujica (In Love tube 2015) which you need a license to use.  

Scrap kit of choice. I am using a PTU kit I Love You by Niqui's Designs 

Font of choice, I am using Sucker Font


Plugins: No outside plugins used


Just remember that my choices of papers and elements is just a suggestion, change it up and make it yours! You don't have to follow mine exactly.

Add a drop shadow of your choosing to tubes & elements throughout. I usually use 1, 1, 50, 5 unless otherwise noted.


Let's get started!

Open a new canvas 950 x 950 pixels with a white background

Open element 9 copy and paste as a new layer, resize 85%
click inside with your magic wand, selections, modify, expand 2, selections, invert
open paper 6 copy and paste as a new layer 
click delete on your keyboard, deselect

Copy and paste your tube as a new layer, resize by 35%
arrange in between the two frames

Add your elements:
element 1 arrange across the top of the frames, behind the tube layer
element 56 resize 45% arrange on the bottom left side of the frame
element 20 resize 80% arrange behind roses and tube on bottom left
element 12 resize 50% rotate left 20 arrange on bottom right corner
element 25 resize 50% arrange between heart & tube on bottom right

element 28 arrange just below the tube layer
make your background white and your foreground #b10000 
now take your color replacer tool and go over element 28 to change the white letters to the red

add paper 13 above the white background
apply your mask, merge group
duplicate & merge together


crop and resize
add your copyright and credits as needed
add your text and save
Wednesday, December 24, 2014

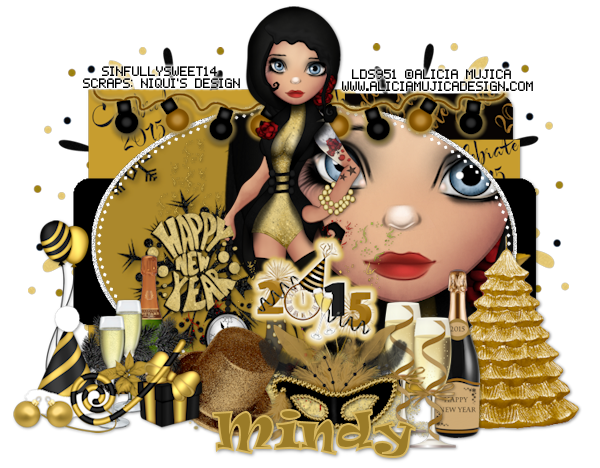
Let's Celebrate


Snaggable versions of this tag in my Fotki album

For this tutorial you will need the following:

Paint Shop Pro, I am using PSP X7, you should be able to use any version.

Tube of choice, I am using the artwork of  Alicia Mujica which you need a license to use.  
This tube is from the December 2014 Sweet Pack.

Scrap kit of choice. I am using a PTU kit by Niqui's Designs called Celebrate 2015 


Font of choice, I am using Ravie


Plugins: Alien Skin Eye Candy 4000 Gradient Glow (optional for lights)


Just remember that my choices of papers and elements is just a suggestion, change it up and make it yours! You don't have to follow mine exactly.

Add a drop shadow of your choosing to tubes & elements throughout. I usually use 1, 1, 50, 5 unless otherwise noted.


Let's get started!

Open your template, shift D to duplicate and close the original
Delete the following layers: CR, 1, 11, 12, 13
Change your canvas size to 850 x 700 so you have room to work

Fill the layers with papers, to do this make sure the layer you want to fill has been clicked on in your layer palette. 
Click outside the shape with your magic wand,  open your paper, copy and paste as a new layer, 
click delete on your keyboard.
Delete the original template layer

Some layers, like the frames, you may just want to flood fill with a color from your kit. To do this, click on the layer in your layer palette, add another raster layer above it,
click outside the shape with your magic wand, and flood fill it with your color
Delete the original template layer

I used the following papers for each layer
layer 2 use paper 6
layer 3 use paper 6
layer 4 use paper 7
layer 5 use paper 7
layer 6 use paper 11
layer 7 leave as is
layer 8 use paper 15
layer 9  leave as is
layer 10 leave as is


Make the big oval layer in the center active, click outside it with your magic wand
copy and paste your tube, arrange it in the oval on the left side, click delete on your keyboard

Paste your tube again, resize 28% arrange in the middle of the template

Now add your elements:
element 28 resize 45% arrange on bottom left side
element 25 resize 45% arrange on bottom right side
element 46 resize 30% arrange to the left of the tree

element 45 resize 33% arrange to the left of the champagne bottle
element 53 resize 25% arrange to the right of the element cluster on the left side
element 6 resize 35% arrange bottom center

element 9 resize 45% arrange across top
apply gradient glow 5 fat, color #d5b55f

element 21 resize 40% arrange on top left,below the template layers,
duplicate & mirror

element 2 resize 25% arrange at the bottom
apply gradient glow width 10 fat, white and #d5b55f


crop and resize
add your copyright and credits as needed
add your text and save

Monday, December 8, 2014

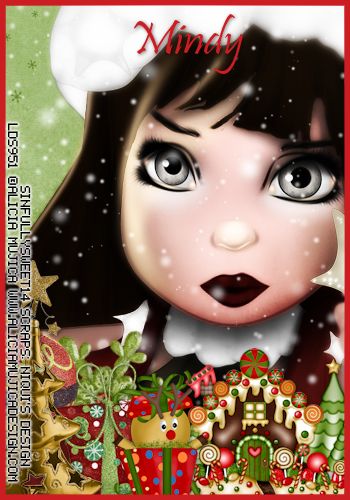
Winter 2014


Snaggable versions of this tag in my Fotki album

For this tutorial you will need the following:

Paint Shop Pro, I am using PSP X7, you should be able to use any version.

Tube of choice, I am using the artwork of Alicia Mujica (Winter 2014 tube) which you need a license to use.  

Scrap kit of choice. I am using a PTU kit by Niqui's Designs called Christmas Fun  

Font of choice, I am using Pristina

Plugins: Either Xero Radience or built in plugin Vignette


Just remember that my choices of papers and elements is just a suggestion, change it up and make it yours! You don't have to follow mine exactly.

Add a drop shadow of your choosing to tubes & elements throughout. I usually use 1, 1, 50, 5 unless otherwise noted.


Let's get started!

Open a new canvas 350 x 500 pixels with a white background

copy and paste paper 12 as a new layer

copy and paste your tube as a new layer, arrange in canvas

take your crop tool, make sure you are on the white background layer
have the "snap crop rectangle" at the top set to "layer opaque"
and double click on your canvas

duplicate your tube, on the bottom layer go to photo effects vignette (or you can use Xero Porcelain if you have that plugin, I can't get it to work with PSP X7 & windows 8)
use the following settings:
dark/light 8
blur 20
diffuse glow 8
feather edge 50

on the top layer, adjust blur, gaussian, 3 set to overlay, drop opacity to 70


add the following elements
element 41 paste over the tube
element 5 resize 45% arrange on bottom left
element 2 resize 25% arrange behind and to the right of the tree
element 9 resize 35% arrange on bottom right corner
element 26 resize 25% arrange between present and gingerbread house
element 23 resize 25% rotate right 25 arrange behind gift
element 6 resize 55% arrange behind tree

crop your canvas again
make sure you are on the white background layer still
selections, select all, modify, set selection borders at 5
add a new raster layer at the top
flood fill with #cc1d23


add your copyright and credits as needed
add your text and save
Tuesday, December 2, 2014

Christmas Girl


Snaggable versions of this tag in my Fotki album


For this tutorial you will need the following:

Paint Shop Pro, I am using PSP X7, you should be able to use any version.

Tube of choice, I am using the artwork of Alicia Mujica (Winter 2014 tube) which you need a license to use.  

Scrap kit of choice. I am using a PTU kit, Christmas Girl by Niqui's Designs 

Font of choice, I am using Ali Air


Plugins: no outside plugins used


Just remember that my choices of papers and elements is just a suggestion, change it up and make it yours! You don't have to follow mine exactly.

Add a drop shadow of your choosing to tubes & elements throughout. I usually use 1, 1, 50, 5 unless otherwise noted.


Let's get started!

Open a new canvas 850 x 850 pixels with a white background

open element 46 copy and paste as a new layer 
click inside with your magic wand, selections, modify, expand 2, selections, invert
open paper 2 copy and paste as a new layer 
click delete on your keyboard

copy and paste your tube as a new layer, resize by 55%
arrange in your frame
erase the bits that hang out of your frame where you don't want them

add your elements:

element 5 resize 55% arrange on left below tube layer
duplicate & drag the duplicate layer above the tube, now take your eraser tool and erase the parts
that go over top of her lantern. You might want to lower the opacity of the layer so you can see her lantern through it.
When you do it this way, you can see the tree in front of your tube but also behind the lantern so it really looks like she's got her arm reaching over the tree

element 23 resize 55% arrange to the right of the tree
element 13 resize 55% arrange behind and right of element 23
element 8 resize 30% arrange behind and right of element 13

element 6 resize 30% arrange behind & above element 8
duplicate & drag the duplicate to the top right corner

element 7 resize 30% arrange over the flower on the top right
element 39 resize 30% arrange so it's hanging from the bow
element 40 resize 45% arrange across bottom

copy and paste paper 3 above the white background
apply your mask and merge group


crop and resize
add your copyright and credits as needed
add your text and save
Sunday, November 23, 2014

Christmas Joy


Snaggable versions of this tag in my Fotki album

For this tutorial you will need the following:

Paint Shop Pro, I am using PSP X7, you should be able to use any version.

Tube of choice, I am using the artwork of Fedor (Mia tube) which you need a license to use.  

Scrap kit of choice. I am using a PTU kit, Christmas Joy by Niqui's Designs 

Font of choice, I am using CC Jim Lee


Plugins: No outside plugins used


Just remember that my choices of papers and elements is just a suggestion, change it up and make it yours! You don't have to follow mine exactly.

Add a drop shadow of your choosing to tubes & elements throughout. I usually use 1, 1, 50, 5 unless otherwise noted.


Let's get started!

Open a new canvas 850 x 850 pixels with a white background

Open element 37 copy and paste as a new layer resize 80%
click inside with your magic wand, selections, modify, expand 2, selections, invert
open  copy and paste as a new layer 
click delete on your keyboard, leave selected

Copy and paste your tube as a new layer, resize by 
arrange in your frame
erase the bits that hang out of your frame where you don't want them

Add the following elements
element 64 resize 55% arrange on bottom left
element 42 resize 40% arrange to the left of the flowers
element 38 resize 40% arrange to the right of the flowers

element 53 resize 30% mirror horizontal arrange to the right of and behind ice bucket
element 39 resize 29% arrange in front of flowers & ice bucket
element 51 resize 40% mirror horizontal arrange on left side

element 3 resize 35% arrange behind & right of the cake
element 30 resize 35% arrange above & behind other flower
element 2 resize 60% arrange in front of flowers on right

add paper 8 above the white background
apply your mask, merge group
resize 105% drop the opacity to 50


crop and resize
add your copyright and credits as needed
add your text and save

Thursday, November 13, 2014

Here Comes Xmas


Snaggable versions of this tag available in my Fotki album 

For this tutorial you will need the following:

Paint Shop Pro, I am using PSP X, you should be able to use any version.

Tube of choice, I am using the artwork of Alicia Mujica (Mama's Coming tube) which you need a license to use.  

Scrap kit of choice. I am using a PTU kit by Niqui's Designs called Here Comes Xmas 

Font of choice, I am using Santa's Sleigh

Mask: WSL84 Masks links on right sidebar, part way down the page

Plugins: No outside plugins used
I do use Eye Candy 4000 Gradient Glow on all my copyrights/credits layers
I do this because some forums will make a .png tag show up with a black background and then your
copyright doesn't show. 


Just remember that my choices of papers and elements is just a suggestion, change it up and make it yours! You don't have to follow mine exactly.

Add a drop shadow of your choosing to tubes & elements throughout. I usually use 1, 1, 50, 5 unless otherwise noted.


Let's get started!

Open a new canvas 850 x 850 pixels with a white background

open 38 copy and paste as a new layer resize 75%
click inside with your magic wand, selections, modify, expand 2, selections, invert
open paper 8 copy and paste as a new layer 
click delete on your keyboard,

Copy and paste your tube as a new layer, resize by 60%
arrange in your frame
erase the bits that hang out of your frame where you don't want them
deselect

add the following elements to your tag
element 70 resize 75% arrange on bottom center
element 9 resize 55% arrange on the right
element 31 resize 35% rotate right 20 arrange below the tree
element 17 resize 35% then 85% arrange to the left of the bag
element 33 resize 30% arrange behind gift and bag
element 11 resize 45% rotate left 20 arrange on bottom left
element 18 resize 45% arrange at the bottom in front of the other elements

copy and paste paper 3 above the white background
apply your mask & merge group

crop and resize
add your copyright and credits as needed
add your text and save
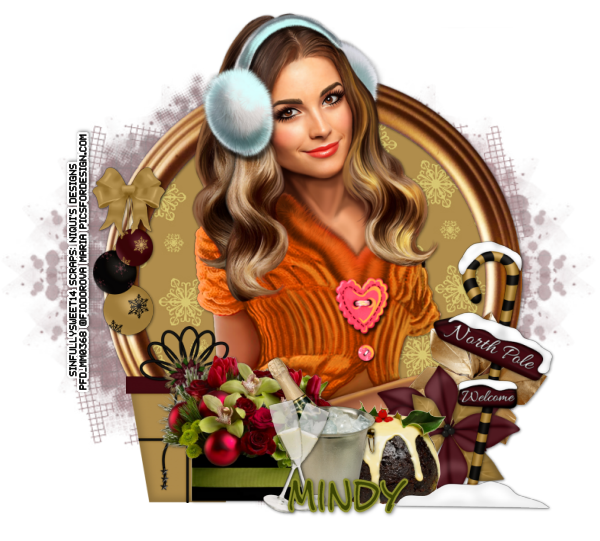
Friday, October 31, 2014

October Girl


For this tutorial you will need the following:

Paint Shop Pro, I am using PSP X, you should be able to use any version.

Tube of choice, I am using the artwork of Alicia Mujica (October tube) which you need a license to use. 

Scrap kit of choice. I am using a PTU kit, Golden Girl, by Niqui's Designs

Font of choice, I am using Sweet Memories

Mask: Vix big mask 1

Plugins: No outside plugins used
I do use Eye Candy 4000 Gradient Glow on all my copyrights/credits layers
I do this because some forums will make a .png tag show up with a black background and then your
copyright doesn't show.


Just remember that my choices of papers and elements is just a suggestion, change it up and make it yours! You don't have to follow mine exactly.

Add a drop shadow of your choosing to tubes & elements throughout. I usually use 1, 1, 50, 5 unless otherwise noted.


Let's get started!

Open a new canvas 850 x 850 pixels with a white background

open element 45 copy and paste as a new layer resize 65%
click inside with your magic wand, selections, modify, expand 2, selections, invert
open paper 12 copy and paste as a new layer
click delete on your keyboard,
copy and paste your tube as a new layer, resize by 70%
arrange in your frame
erase the bits that hang out of your frame where you don't want them

 add your elements:
element 34 resize 45% arrange on bottom left
element 14 resize 30% arrange on bottom right on the right side of the bag
element 7 resize 30% mirror arrange to the left of the purse, in front of the bag
element 47 resize 45% mirror & arrange on bottom right
element 39 resize 30% arrange between purse and cat on bottom
element 36 resize 60% arrange behind cat
element 51 resize 25% arrange above & behind bag layers
element 30 resize 35% arrange behind brown flower
element 42 resize 45% arrange between the two flowers, duplicate, rotate right 90, drag down
element 2 resize 45% rotate right 90 arrange behind flowers on left
element 43 resize 30% arrange on top right


add paper 3 above the white background
apply your mask, merge group
drop the opacity to 60

crop and resize
add your copyright and credits as needed
add your text and save