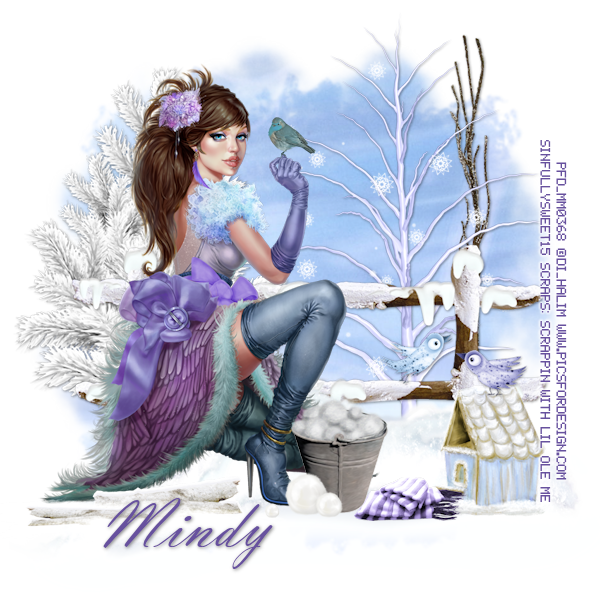
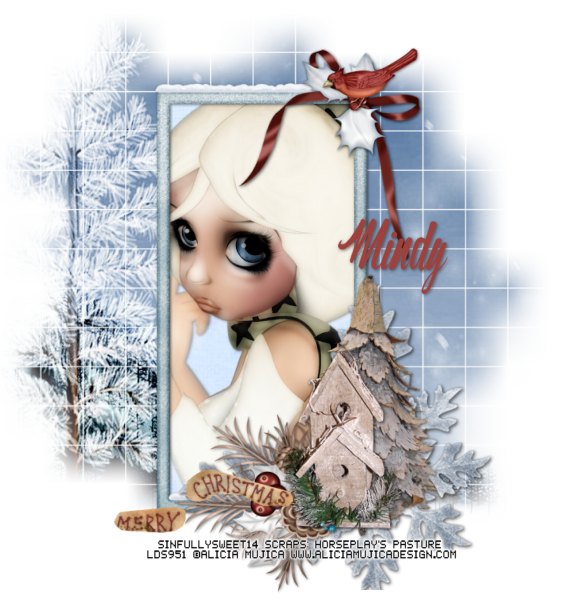
For this tutorial you will need the following:

Paint Shop Pro, I am using PSP X7, you should be able to use any version.

Tube of choice, I am using the artwork of Alicia Mujica, Wintertime Special Edition tube 2
which you need a license to use.

Scrap kit of choice. I am using Alicia's Nutcracker kit

Font of choice, I am using Silver Charm


Just remember that my choices of papers and elements is just a suggestion, change it up and make it yours! You don't have to follow mine exactly.

Add a drop shadow of your choosing to tubes & elements throughout. I usually use 1, 1, 50, 5 unless otherwise noted.


Let's get started!

Open a new canvas 600 x 250 pixels with #666180 background
Copy and paste your tube as a new layer, resize by 45%
arrange on the left
Add your elements
window resize 45% arrange on left under tube, duplicate,mirror, drag below original layer, slide to leftwall clock resize 25% arrange over window on rightcluster 2 resize 25% arrange under clock layer on rightcannister resize 25% arrange below cluster 2 layer, drag to the topMake sure you're on the background layer, activate your crop tool, choosecrop layer opaque and then click on your tag to cropOn background layer, selections, select all, float, defloat, modify, contract 3,invert, make a new raster layer at the top, flood fill with #670e27, selections, invert,contract by 5, add a new raster layer below that, invert, flood fill with #738c2d,selections, invert, add a new raster layer below that, contract 3, invert,flood fill with the red again.Deselect, merge the 3 frame layersI did a drop shadow on the frame with the following settings:-1, -1, 50, 5 and again changing the -1 both to 1
add your copyright and credits as neededadd your text and saveAvatarOpen a new canvas 200 x 200 or whatever size your forum usesMerge all layers of tag except frame, and any text layers,copy and paste on avatar canvas, resize 80%, arrange in canvasCreate a new frame using the same manner as the banner.Add necessary credits and text and save.EN ESPANOL
Para este tutorial necesitarás lo siguiente:
Paint Shop Pro, estoy usando PSP X7, deberías poder usar cualquier versión.
Tubo de elección, estoy usando la ilustración de Alicia Mujica, tubo Wintertime Special Edition 2
el cual necesitas una licencia para usar.
Kit de chatarra de elección. Estoy usando el kit del Cascanueces de Alicia.
Fuente de elección, estoy usando Silver Charm
Solo recuerda que mi elección de papeles y elementos es solo una sugerencia, cámbiala y hazla tuya. No tienes que seguir la mía exactamente.
Agregue una sombra de su elección a los tubos y elementos a lo largo. Usualmente uso 1, 1, 50, 5 a menos que se indique lo contrario.
¡Empecemos!
Abra un nuevo lienzo de 600 x 250 píxeles con fondo # 666180
Copie y pegue su tubo como una nueva capa, redimensione en un 45%
arreglar a la izquierda
Añade tus elementos
tamaño de la ventana 45% colocar en la parte inferior izquierda del tubo, duplicar,
espejo, arrastre debajo de la capa original, deslice hacia la izquierda
reloj de pared redimensionar 25% arreglar sobre la ventana a la derecha
El cluster 2 cambia el tamaño al 25% y lo coloca debajo de la capa del reloj a la derecha.
cambiar el tamaño del recipiente 25% organizar debajo de la capa del cluster 2, arrastrar hasta la parte superior
Asegúrese de estar en la capa de fondo, active su herramienta de recorte, elija
recorte la capa opaca y luego haga clic en su etiqueta para recortar
En la capa de fondo, selecciones, seleccionar todo, flotar, deshojar, modificar, contrato 3,
invertir, crear una nueva capa ráster en la parte superior, rellenar con un n. ° 670e27, selecciones, invertir,
contrate por 5, agregue una nueva capa ráster debajo, invierta, rellene con # 738c2d,
selecciones, invertir, agregar una nueva capa ráster debajo de eso, contrato 3, invertir,
Inundar de nuevo con el rojo.
Anule la selección, fusione las 3 capas de marco
Hice una sombra en el marco con la siguiente configuración:
-1, -1, 50, 5 y otra vez cambiando el -1 a 1
agregue sus derechos de autor y créditos según sea necesario
agrega tu texto y guarda
Avatar
Abra un nuevo lienzo de 200 x 200 o cualquier tamaño que use su foro
Combinar todas las capas de etiqueta, excepto el marco, y las capas de texto,
copiar y pegar en el lienzo de avatar, cambiar el tamaño al 80%, organizar en lienzo
Crea un nuevo marco usando la misma manera que el banner.
Agrega los créditos necesarios y el texto y guarda.