Pages

Showing posts with label Ladyhawwk Designs CT. Show all posts

Friday, April 24, 2015

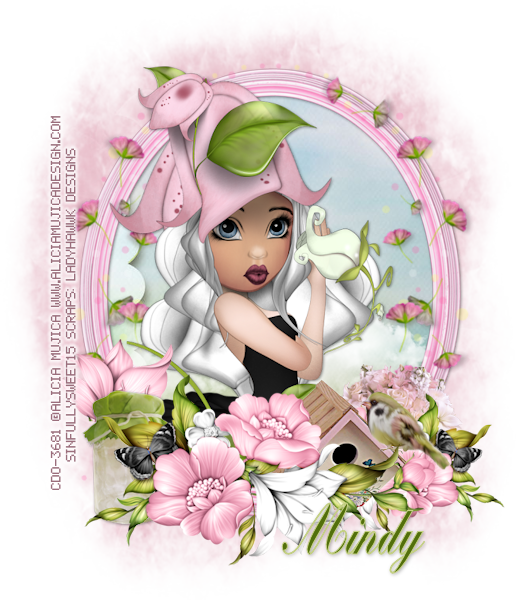
Spring Sweets


Snaggable versions of this tag in my Fotki album

For this tutorial you will need the following:

Paint Shop Pro, I am using PSP X7, you should be able to use any version.

Tube of choice, I am using the artwork of Alicia Mujica which you need a license to use.  

Scrap kit of choice. I am using the inspired by kit for this tube by Ladyhawwk Designs, LHD_IB-AliciaMujica-Exclusive-13A  

Font of choice, I am using Freestyle Script


Plugins: no outside plugins


Just remember that my choices of papers and elements is just a suggestion, change it up and make it yours! You don't have to follow mine exactly.

Add a drop shadow of your choosing to tubes & elements throughout. I usually use 1, 1, 50, 5 unless otherwise noted.


Let's get started!

Open a new canvas 950 x 950 pixels with a white background

Open frame 2 copy and paste as a new layer 
click inside with your magic wand, selections, modify, expand 2, selections, invert
open paper 1 copy and paste as a new layer 
click delete on your keyboard,

Copy and paste your tube as a new layer, 
arrange in your frame
erase the bits that hang out of your frame where you don't want them, deselect

Now add your elements:
element 4 resize 60% arrange on bottom left, duplicate & mirror
element 20 resize 85% arrange in center of two flower bunches
element 10 resize 45% arrange on left, behind other flowers, duplicate & mirror

element 6 resize 55% arrange on right side of teapot
element 17 resize 40% arrange on right side of cupcakes, duplicate, mirror, arrange to left & below teapot

element 16 esize 25% arrange on bottom left

add paper 2 above the white background,
apply your mask, merge group
I resized mine 100%

crop and resize
add your copyright and credits as needed
add your text and save

Sunday, April 12, 2015

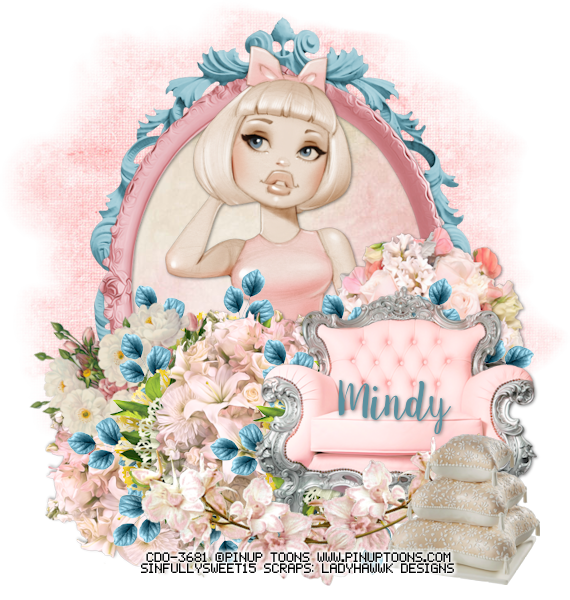
Sweetness


Snaggable versions of this tag in my Fotki album

For this tutorial you will need the following:

Paint Shop Pro, I am using PSP X7, you should be able to use any version.

Tube & kit of choice, I am using the PinUp Toons tube 216-1 from the bundle
along with the kit by Ladyhawwk designs, available at CDO.

Font of choice, I am using Sweet Pea

Mask: beckymask23, no longer available for download
if you don't have it, just use something else you like

Plugins: no outside plugins


Just remember that my choices of papers and elements is just a suggestion, change it up and make it yours! You don't have to follow mine exactly.

Add a drop shadow of your choosing to tubes & elements throughout. I usually use 1, 1, 50, 5 unless otherwise noted.


Let's get started!

Open a new canvas 850 x 850 pixels with a white background

Open frame 2 copy and paste as a new layer, resize 85%
click inside with your magic wand, selections, modify, expand 2, selections, invert
open paper 4 copy and paste as a new layer 
click delete on your keyboard,

Copy and paste your tube as a new layer
arrange in your frame

Now add your elements:

element 15 resize 75% arrange on bottom right
element 19 resize 65% arrange behind chair on right

element 17  resize 65% arrange below the chair layer to the left of it
element 7 resize 65% roate right 40 arrange in front of seat, duplicate, mirror, drag back over by original layer so they overlap

element 18 resize 55% rotate left 90 arrange on right side of chair
element 24 resize 55% arrange behind other flowers on the left
duplicate element 19 (the pink flowers that are just behind the chair on the left)
rotate left 90, drag below the other flowers and so they show below element 24 at the bottom

element 46 arrange behind chair, duplicate 3 times and just arrange between the different flower layers wherever you like them

frame 3 arrange behind first frame and background paper

add paper 7 above the white background,
apply mask, merge group
 I duplicated mine about 4 times and merge together to make it darker

crop and resize
add your copyright and credits as needed
add your text and save

Sunday, March 15, 2015

It's Spring


Snaggable versions of this tag in my Fotki album

For this tutorial you will need the following:

Paint Shop Pro, I am using PSP X7, you should be able to use any version.

Tube of choice, I am using the artwork of Alicia Mujica which you need a license to use.  
I am using AliciaMujica-Exclusive 12B which is not available in Alica's store, as it is a CDO exclusive tube, only available at CDO.

Scrap kit of choice. I am using a PTU kit by Ladyhawwk Designs ScrapLHD_IB-AliciaMujica-Exclusive-12B 

Font of choice, I am using Bolina

Mask:  DVB Mask 110

Plugins: No outside plugins used


Just remember that my choices of papers and elements is just a suggestion, change it up and make it yours! You don't have to follow mine exactly.

Add a drop shadow of your choosing to tubes & elements throughout. I usually use 1, 1, 50, 5 unless otherwise noted.


Let's get started!

Open a new canvas 850 x 850 pixels with a white background

Open frame 1 copy and paste as a new layer 
click inside with your magic wand, selections, modify, expand 2, selections, invert
open paper 3 copy and paste as a new layer 
click delete on your keyboard,

Copy and paste your medium sized close up tube as a new layer,
arrange in your frame
erase the bits that hang out of your frame where you don't want them, deselect

Now add your elements:
element 30 resize 60% arrange on bottom, duplicate, mirror, resize 75%, drag below the original
element 22 resize 70% rotate left 75 arrange on right, duplicate, mirror, drag below tube layer
element 25 resize 60% arrange on left, below flower cluster on bottom

element 8 resize 45% arrange over top edge of element 25 and the flower cluster
element 27 resize 55% arrange between the two flower clusters
element 23 resize 30% arrange on the birdhouse

element 28 resize 45% arrange behind jar on the left, erase the stem
element 9 resize 45% arrange on right, below the flower cluster
element 26 resize 70% arrange behind tube layer, just above the elements on the bottom

copy and paste paper 7 above the white background
apply your mask, merge group, resize 95%

crop and resize
add your copyright and credits as needed
add your text and save
Friday, March 13, 2015

CT Tag Show Off

New tag using the artwork of Alicia Mujica, Brawen tube
snaggable tags in my Fotki album


Missing Someone


Snaggable versions of this tag in my Fotki album

For this tutorial you will need the following:

Paint Shop Pro, I am using PSP X7, you should be able to use any version.

Tube of choice, I am using the artwork of Alicia Mujica which you need a license to use.  
This tube is an exclusive to CDO tube (Exclusive 11B  that you will not find in Alicia's store, but 
is only at CDO

Scrap kit of choice. I am using a PTU scrap kit by Ladyhawwk Designs, which was inspired by the Alicia Mujica exclusive tube Ladyhawwk Designs_IB-Alicia Mujica 11B  

Font of choice, I am using Ballerina Script

Plugins: No outside plugins used


Just remember that my choices of papers and elements is just a suggestion, change it up and make it yours! You don't have to follow mine exactly.

Add a drop shadow of your choosing to tubes & elements throughout. I usually use 1, 1, 50, 5 unless otherwise noted.


Let's get started!

Open a new canvas 850 x 850 pixels with a white background

Open frame 1 copy and paste as a new layer, resize 80%
click inside with your magic wand, selections, modify, expand 2, selections, invert
open paper 1 copy and paste as a new layer 

Copy and paste your close up tube as a new layer, 
arrange in your frame
erase the bits that hang out of your frame where you don't want them

Add your elements:
element 15 resize 60% arrange on bottom right corner
element 7 resize 45% arrange to the left of the car
element 31 resize 55% arrange across bottom, below element 7 layer

element 19 resize 40% arrange on bottom left corner below element 31 layer
element 6 resize 40% arrange to the right of element 19, duplicate & mirror, drag back beside original
element 8 resize 45% arrange between the two white flowers layers

element 28 resize 45% arrange above the silvery flower cluster at the bottom
Copy and paste the word art at the bottom, resize 60% add a drop shadow

crop and resize
add your copyright and credits as needed
add your text and save
Friday, February 27, 2015

Love & Romance


Snaggable versions of this tag in my Fotki album

For this tutorial you will need the following:

Paint Shop Pro, I am using PSP X7, you should be able to use any version.

Tube of choice, I am using the artwork of PinupToons-213-2 from the pack 213
which you need a license to use.  

Scrap kit of choice. I am using a PTU kit by Ladyhawwk Designs, ScrapLHD_PinUpToons-Package-213 which is a bundle kit that comes only with the PinUp Toons bundle  and cannot be purchase separately. 

Font of choice, I am using Atelas


Plugins: No outside plugins used


Just remember that my choices of papers and elements is just a suggestion, change it up and make it yours! You don't have to follow mine exactly.

Add a drop shadow of your choosing to tubes & elements throughout. I usually use 1, 1, 50, 5 unless otherwise noted.


Let's get started!

Open a new canvas 850 x 850 pixels with a white background

Open frame 4 copy and paste as a new layer resize 80%
click inside with your magic wand, selections, modify, expand 2, selections, invert
open paper 6 copy and paste as a new layer 
click delete on your keyboard, leave selected

Copy and paste your tube as a new layer, 
arrange in your frame
erase the bits that hang out of your frame where you don't want them

Add your elements:
element 48 resize 45% arrange on bottom left corner
element 50 resize 45% arrange in front of the first element, over to the right a little
element 47 resize 35% rotate right 30 arrange behind radio & books

element 23 resize 60% mirror & arrange on bottom left below the other layers
element 22 resize 40% arrange below blue flowers, slightly to the right of them

element 7 resize 30% arrange behind and above the other flowers on the left,
duplicate, resize 80% rotate right 90 drag to the bottom right

element 8 resize 65% arrange below frame & paper on the bottom, duplicate, rotate right 90, arrange along the left side

element 45 resize 35% arrange on bottom right, below the books & radio layers, 
duplicate, mirror, drag to the left

element 44 resize 35% arrange between the flower layers on the left

Copy and paste paper 3 above the white background
apply your mask, merge group, resize 85%
Drop the opacity around 80

crop and resize
add your copyright and credits as needed
add your text and save
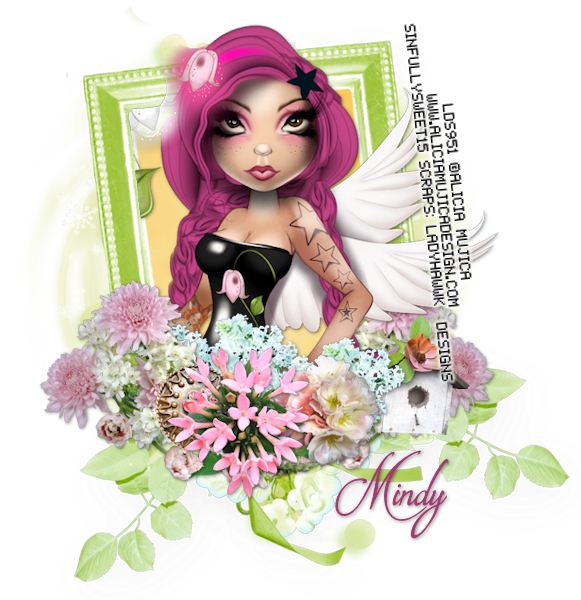
Tuesday, February 10, 2015

A Little Love


Snaggable versions of this tag in my Fotki album

For this tutorial you will need the following:

Paint Shop Pro, I am using PSP X7, you should be able to use any version.

Tube of choice, I am using the artwork of Anna Marine-Individual Tube 45-3 which you need a license to use.  

Scrap kit of choice. I am using a PTU kit, A Little Love by Ladyhawwk Designs  

Font of choice, I am using Ballerina Script


Plugins: No outside plugins


Just remember that my choices of papers and elements is just a suggestion, change it up and make it yours! You don't have to follow mine exactly.

Add a drop shadow of your choosing to tubes & elements throughout. I usually use 1, 1, 50, 5 unless otherwise noted.


Let's get started!

Open a new canvas 950 x 950 pixels with a white background

Open element 47 copy and paste as a new layer, resize 190%
click inside with your magic wand, selections, modify, expand 2, selections, invert
open paper 3 copy and paste as a new layer 
click delete on your keyboard, leave selected

Copy and paste your mirrored tube as a new layer,
arrange in your frame
erase the bits that hang out of your frame where you don't want them, deselect

add your elements
element 10 resize 70% arrange on bottom left, duplicate & mirror
element 2 resize 65% arrange on the bottom, just right of the center
element 55 resize 55% rotate right 45 arrange behind and left of the birdhouse

element 26 resize 40% arrange behind and left of the paper
element 21 resize 50% arrange on the bottom right, under pink flowers, duplicate & mirror
erase the stem and leaves

element 7 arrange on the bottom, duplicate & mirror
element 72 resize 50% arrange between birdhouse and paper layer, duplicate, mirror, drag down below the paper layer

element 8 resize 30% arrange on the right
element 56 resize 45% arrange just above tube layer on the right

Add paper 7 above the white background
apply your mask, merge group

crop and resize
add your copyright and credits as needed
add your text and save

Monday, January 26, 2015

At The Movies


Snaggable versions of this tag in my Fotki album

For this tutorial you will need the following:

Paint Shop Pro, I am using PSP X7, you should be able to use any version.

Tube of choice, I am using the artwork of Cuddly Rigor Mortis-Individual Tube 66-3
which you need a license to use.  

Scrap kit of choice. I am using a PTU kit by Ladyhawwk Designs LHD_IB-CuddlyRigorMortis-IndividualTube-66-3 

Font of choice, I am using Playbill

Mask: DVB109

Plugins: No outside plugins


Just remember that my choices of papers and elements is just a suggestion, change it up and make it yours! You don't have to follow mine exactly.

Add a drop shadow of your choosing to tubes & elements throughout. I usually use 1, 1, 50, 5 unless otherwise noted.


Let's get started!

Open a new canvas 850 x 850 pixels with a white background

Copy and paste your tube as a new layer

add paper 2 above the white background
apply your mask, merge group

add the following:
element 13 arrange on the top to the right of & behind your tube
element 11 resize 85%  mirror & arrange on the right
element 24 resize 40% mirror & arrange
element resize % arrange behind the tube layer to the left of it
element 2 resize 40% arrange on the right side of your tube
element 7 resize 60% arrange
element 3 resize 60% rotate left 20 arrange between tube and movie camera
element 4 resize 55% arrange over the elements on the right
element 12 resize 45% arrange on the top left
word art resize 30% arrange on top of the tube
element 1 resize 55% arrange just above the mask in the center

crop and resize
add your copyright and credits as needed
add your text and save
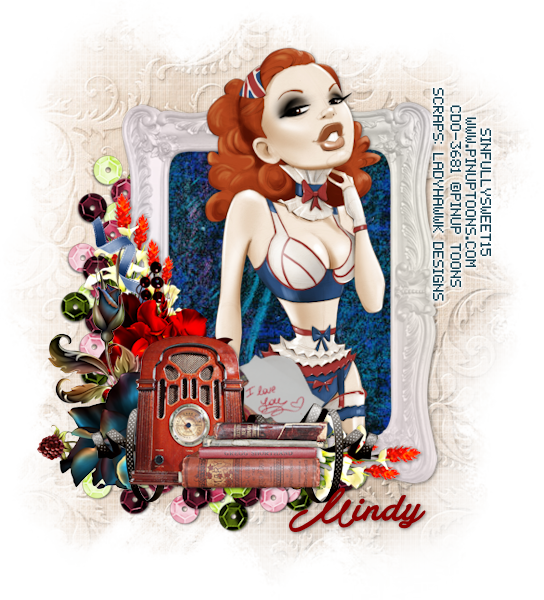
Monday, January 19, 2015

Hugs & Kisses


Snaggable versions of this tag in my Fotki album

For this tutorial you will need the following:

Paint Shop Pro, I am using PSP X7, you should be able to use any version.

Tube of choice, I am using the artwork of Alicia Mujica CDO Exclusive tube 10C 
which you need a license to use.  
This tube is a CDO Exclusive tube and is only available at CDO not at Alicia's Store

Scrap kit of choice. I am using a PTU kit by Ladyhawwk Designs, 

Font of choice, I am using Pristina


Plugins: No outside plugins used


Just remember that my choices of papers and elements is just a suggestion, change it up and make it yours! You don't have to follow mine exactly.

Add a drop shadow of your choosing to tubes & elements throughout. I usually use 1, 1, 50, 5 unless otherwise noted.


Let's get started!

Open a new canvas 850 x 850 pixels with a white background

Open frame 1 copy and paste as a new layer resize 80%
click inside with your magic wand, selections, modify, expand 2, selections, invert
open paper 2 copy and paste as a new layer 
click delete on your keyboard,

Copy and paste your tube as a new layer
arrange in your frame
erase the bits that hang out of your frame where you don't want them
deselect

Now add your elements:

element 8 resize 50% arrange on the bottom center of frame
element 31 resize 35% arrange behind element 8 on right, duplicate & mirror
element 20 resize 35% arrange between elements 8 & 31 on right, duplicate, mirror

element 16 resize 60% rotate right 45 arrange below the black flower layer on the right
element 3 resize 90%  rotate left 35 arrange below the black flower layer on the left
element 19 resize 40% arrange between hearts in the bottom center area

element 17 resize 55% flip , duplicate and arrange both under the other layers along the side
element 29 resize 45% arrange at the bottom
element 28 resize 50% duplicate, rotate one 35 left arrange on top left
rotate the other right 35 arrange on top right

Copy and paste paper 6 above the white background
apply your mask and merge group
duplicate and merge together

crop and resize
add your copyright and credits as needed
add your text and save
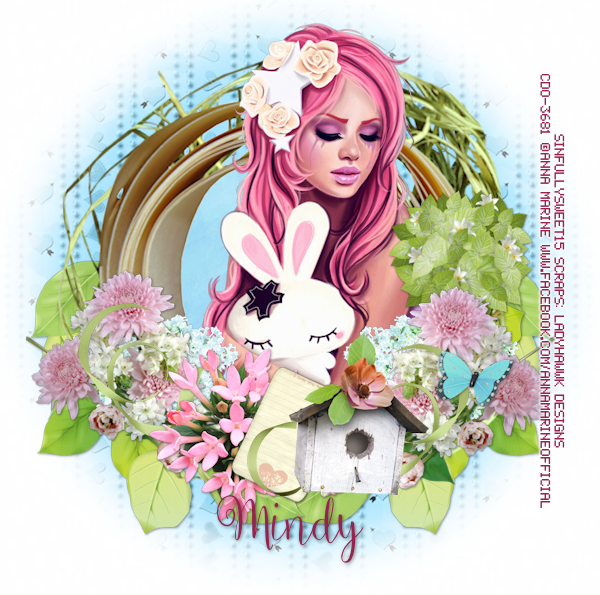
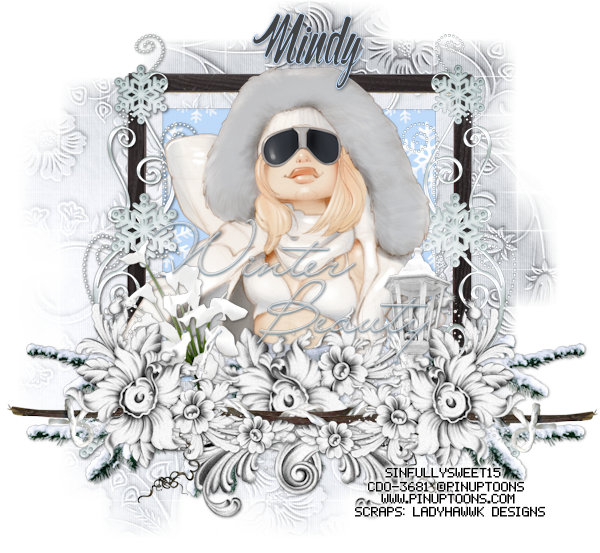
Thursday, January 8, 2015

Winter Beauty


Snaggable versions of this tag in my Fotki album

For this tutorial you will need the following:

Paint Shop Pro, I am using PSP X7, you should be able to use any version.

Tube of choice, I am using the artwork of Pinup Toons tube 210-1 which you need a license to use.  

Scrap kit of choice. I am using the PinUp Toons Package 210 scrapkit by Ladyhawwk Designs 

Font of choice, I am using The Cinthia Edito

Mask: WSL Mask 84 Links for masks are on the right sidebar

Plugins: No outside plugins


Just remember that my choices of papers and elements is just a suggestion, change it up and make it yours! You don't have to follow mine exactly.

Add a drop shadow of your choosing to tubes & elements throughout. I usually use 1, 1, 50, 5 unless otherwise noted.


Let's get started!

Open a new canvas 950 x 950 pixels with a white background

Open frame 5 copy and paste as a new layer, resize 85% 
Take your magic wand with the tolerance set at 3, feather at 0
click on the lighter colored part of the frame, selections, modify, expand 1
selections, invert, copy and paste paper 4 as a new layer, click delete on your keyboard
deselect and merge the two layers together

click inside the frame with your magic wand, selections, modify, expand 2, selections, invert
open paper 2 copy and paste as a new layer 
click delete on your keyboard, leave selected

Copy and paste your close up tube as a new layer, resize by 90%
arrange in your frame
erase the bits that hang out of your frame where you don't want them


Now you can add your elements:
element 9 resize 50% duplicate twice,arrange one on the bottom left, mirror one, arrange it on the bottom right, rotate the 3rd left 45, arrange it below the other two layers in the center
resize the two on the outside corners 90%

element 8 resize 70% arrange below the flowers in the center
element 39 resize 75% arrange below the flowers on the left, duplicate & mirror, erase
what shows in the bottom center

element 40 rotate left 90 arrange on the right side, duplicate & mirror, arrange between the frame and the tube layers

element 47 resize 75% arrange below the two outside flower clusters, but above the middle one
on the left side, duplicate and mirror

element 37 resize 45% arrange below the flower cluster layer on the bottom right corner
element 38 resize 55% arrange on the bottom left corner under the flower cluster layer
word art resize 85% make sure to add your drop shadow or it does show well, arrange across the tube and just above the flowers in the center area

add paper 4 above the white background, resize 115% so it fits the canvas better,
apply your mask, merge group
duplicate about 5 times and merge together so it's darker
flip it

crop and resize
add your copyright and credits as needed
add your text and save

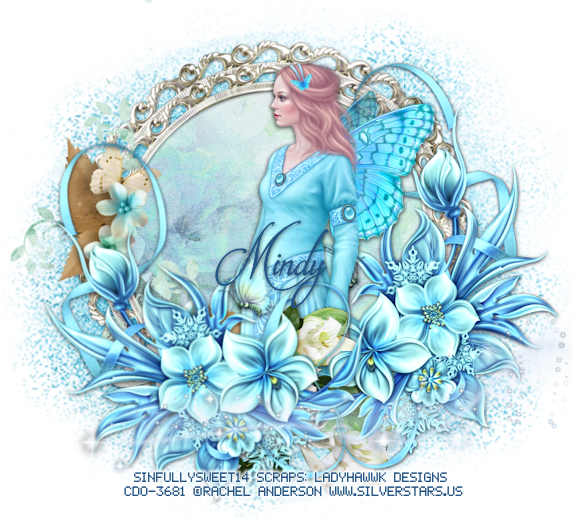
Tuesday, December 30, 2014

Aquamarine


Snaggable versions of this tag in my Fotki album

For this tutorial you will need the following:

Paint Shop Pro, I am using PSP X7, you should be able to use any version.

Tube of choice, I am using the artwork of Rachel Anderson - Individual Tube - 15-2
which you need a license to use and is available at CDO

Scrap kit of choice. I am using a PTU kit by Ladyhawwk Designs 
IB-Rachel Anderson- Individual Tube 15-2  which was inspired by the tube I am
using and available only at CDO

Font of choice, I am using Brotherhood Script


Plugins: no outside plugins used


Just remember that my choices of papers and elements is just a suggestion, change it up and make it yours! You don't have to follow mine exactly.

Add a drop shadow of your choosing to tubes & elements throughout. I usually use 1, 1, 50, 5 unless otherwise noted.


Let's get started!

Open a new canvas 850 x 850 pixels with a white background

Open frame 2 copy and paste as a new layer resize 85% then 75%
click inside with your magic wand, selections, modify, expand 2, selections, invert
open paper 6 copy and paste as a new layer 
click delete on your keyboard,

Copy and paste your tube as a new layer mirror and arrange on the right side of the frame
arrange in your frame


erase the bits that hang out of your frame where you don't want them

add your elements:
element 3 resize 70% duplicate & mirror the duplicate, arrange below tube layer on bottom right
duplicate the one on the right and drag above tube, take your eraser tool and erase parts of the top flower layer where it goes over the wings and arms, leaving the bottom tube as it is so it shows under the tube 
and you don't have to worry about being exact along the edge

Go back to the original element 3 on the left, rotate left 35, drag over so it meets up with the one on the right side

element 11 resize 35% arrange at the bottom where the two blue elements meet, duplicate and 
drag up, erase the green leaf on the right side of the element at the bottom

element 16 resize 70% rotate right 30 arrange under the blue flowers on the left
erase the butterfly at the very top of it

element 14 resize 60% arrange at the bottom of the blue flowers

add paper 2 above the white background
apply your mask, merge group, resize 80%

crop and resize
add your copyright and credits as needed
add your text and save
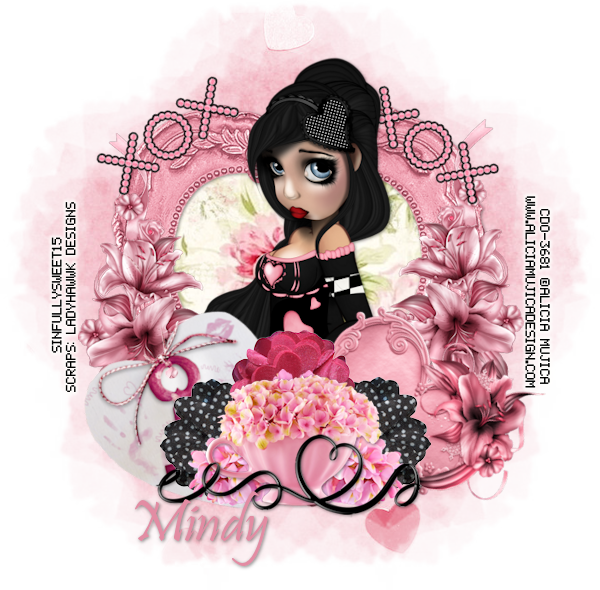
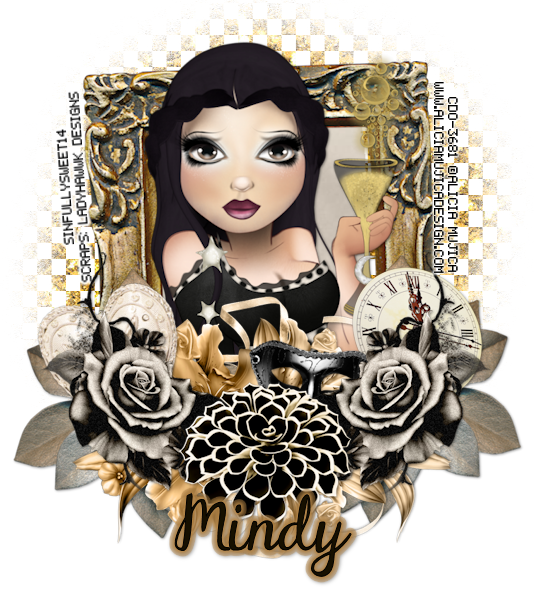
Sunday, December 21, 2014

Celebrate 2015


Snaggable versions of this tag in my Fotki album

For this tutorial you will need the following:

Paint Shop Pro, I am using PSP X7, you should be able to use any version.

Tube of choice, I am using the artwork of Alicia Mujica CDO Exclusive Tube 9A which you need a license to use.  This tube is not available at her store here, only at CDO where it is linked above.

Scrap kit of choice. I am using a PTU scrap kit by Ladyhawwk Designs, IB-AliciaMujica Exclusive Tube 9A

Font of choice, I am using DJB Dear St. Nick

Mask DBV109

Plugins:  Alien Skin Eye Candy 4000 Gradient Glow (optional for text)


Just remember that my choices of papers and elements is just a suggestion, change it up and make it yours! You don't have to follow mine exactly.

Add a drop shadow of your choosing to tubes & elements throughout. I usually use 1, 1, 50, 5 unless otherwise noted.


Let's get started!

Open a new canvas 950 x 950 pixels with a white background

open frame 1 copy and paste as a new layer resize 95%
click inside with your magic wand, selections, modify, expand 2, selections, invert
open paper 7 copy and paste as a new layer 
click delete on your keyboard,

Copy and paste your close up tube as a new layer, arrange in the frame

add your elements:
element 21 resize 85% then 90% arrange on bottom right, duplicate & mirror
element 31 resize 50% arrange on bottom right, duplicate & mirror
element 32 resize 50% arrange across the bottom below the black flower layers

element 14 resize 50% arrange on the right, behind the black flower
element 18 resize 65% rotate left 30 arrange below black flower layer on left
duplicate the gold colored flower cluster, then flip it and drag down so it shows below element 18
element 1 resize 45% arrange below black flowers on bottom right

add paper 5 above the white background
apply mask and merge group

crop and resize
add your copyright and credits as needed
add your text and save
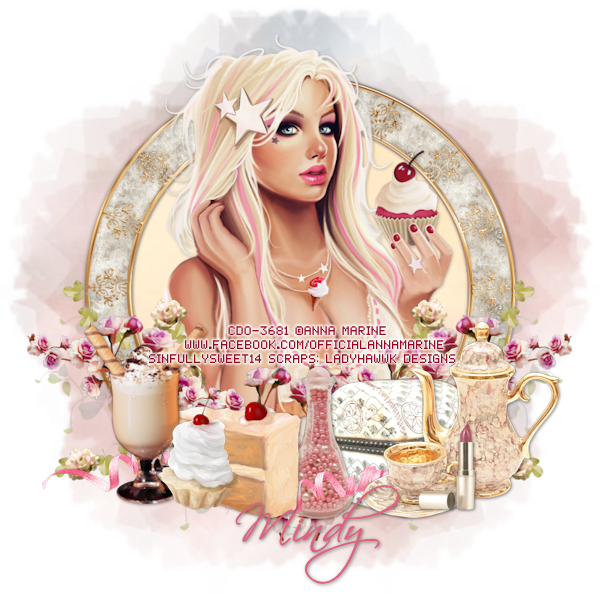
Tuesday, December 9, 2014

Miss Cupcake


For this tutorial you will need the following:

Paint Shop Pro, I am using PSP X7, you should be able to use any version.

Tube of choice, I am using the artwork of Anna Marine-Individual Tube 47-3 which you need a license to use.  It is available at CDO

Scrap kit of choice. I am using Ladyhawwk Designs PTU kit IB-Anna Marine Individual Tube 47- 3 kit available at CDO 

Font of choice, I am using Scriptina


Plugins: No outside plugins used


Just remember that my choices of papers and elements is just a suggestion, change it up and make it yours! You don't have to follow mine exactly.

Add a drop shadow of your choosing to tubes & elements throughout. I usually use 1, 1, 50, 5 unless otherwise noted.


Let's get started!

Open a new canvas 850 x 850 pixels with a white background

Open frame 4 copy and paste as a new layer 
click inside with your magic wand, selections, modify, expand 4, selections, invert
open paper 1 copy and paste as a new layer arrange in the frame,
click delete on your keyboard

Copy and paste your tube as a new layer
arrange in your frame
erase the bits that hang out of your frame where you don't want them

add the following:
element 47 resize 65% arrange on bottom left, duplicate & mirror
element 23 resize 65% arrange below pink roses on right, duplicate & mirror
element 30 resize 55% arrange on bottom right

element 9 resize 50% arrange to the left of the teacup
element 16 resize 55% arrange behind the teacup
element 32 resize 60% arrange on bottom left

element 19 resize 40% arrange to the left of element 32
element 47 resize 55% arrange between cupcake and bottle
element 1 resize 40% arrange in front of teapot

duplicate the pink roses on the left twice
drag them over so the tops of them show over the elements at the bottom
take your eraser tool and erase the bits that show below the other elements

element 35 resize 45% arrange on bottom between the elements (behind teapot and in front of bottle and white box)
duplicate, mirror, arrange on the left behind the elements

copy and paste paper 2 above the white background
apply your mask, merge group
duplicate 3 or 4 times and merge together so it's a bit darker

crop and resize
add your copyright and credits as needed
add your text and save
Wednesday, December 3, 2014

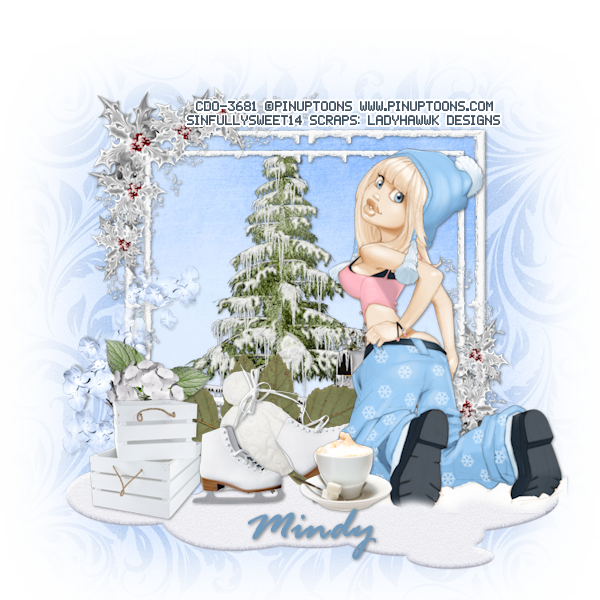
Soft Winter


Snaggable versions of this tag in my Fotki album

For this tutorial you will need the following:

Paint Shop Pro, I am using PSP X7, you should be able to use any version.

Tube of choice, I am using the artwork of Pinup Toons-Individual Tube 206-1 which you need a license to use.  

Scrap kit of choice. I am using a PTU kit, Tranquil Winter by Ladyhawwk Designs

Font of choice, I am using Rage Italic


Plugins: no outside plugins used


Just remember that my choices of papers and elements is just a suggestion, change it up and make it yours! You don't have to follow mine exactly.

Add a drop shadow of your choosing to tubes & elements throughout. I usually use 1, 1, 50, 5 unless otherwise noted.


Let's get started!

Open a new canvas 950 x 950 pixels with a white background

open frame 7 copy and paste as a new layer

Take your freehand selection tool set on point to point, click on the upper left hand corner of the frame, hold your shift key down and go to the bottom left corner, click on it.
do the same for the next two corners, then once you get back to where you started, double click to end your selection.

Now go to selections, invert
open paper 8 copy and paste as a new layer below the frame
click delete on your keyboard, leave selected

open element 21 copy and paste as a new layer, resize 70% arrange in the frame
click delete on your keyboard and deselect
take your eraser tool and erase where the tree & snow show between the two sections of the frame

Copy and paste your tube as a new layer, resize by 90%

now add your elements:
element 22 arrange between your tube and frame layers
element 24 resize 45% arrange on bottom left
element 9 resize 45% arrange behind boxes on left

element 39 resize 60% arrange below and left of tube
element 64 resize 60% arrange behind skates
element 19 resize 60% arrange behind the skates on right, duplicate, mirror, drag behind boxes and skates

element 41 resize 40% arrange behind & above boxes
element 61  resize 40% arrange by tube

copy and paste paper 3 as a new layer above the white background
apply your mask, merge group
duplicate & merge together

crop and resize
add your copyright and credits as needed
add your text and save
Wednesday, November 26, 2014

Coffee Bean


Snaggable versions of this tag in my Fotki album

For this tutorial you will need the following:

Paint Shop Pro, I am using PSP X7, you should be able to use any version.

Tube of choice, I am using the artwork of Anna Marine Individual Tube 49-1 which you need a license to use.  

Scrap kit of choice. I am using a PTU scrap kit by Ladyhawwk Designs IB-Anna Marine-49-1

Font of choice, I am using Segoe Script

Mask of your choice

Plugins: No outside plugins used


Just remember that my choices of papers and elements is just a suggestion, change it up and make it yours! You don't have to follow mine exactly.

Add a drop shadow of your choosing to tubes & elements throughout. I usually use 1, 1, 50, 5 unless otherwise noted.


Let's get started!

Open a new canvas 850 x 850 pixels with a white background

Open frame 1 copy and paste as a new layer 
click inside with your magic wand, selections, modify, expand 2, selections, invert
open paper 4 copy and paste as a new layer 
click delete on your keyboard,

Copy and paste your close up tube as a new layer, resize by 90%
arrange in your frame
erase the bits that hang out of your frame where you don't want them

Now add your elements:
element24  resize 60% arrange on bottom right, duplicate, mirror horizontal
element 3 resize 50% arrange above flowers on right side
element 30 resize 46% arrange bottom center
element 28 resize 46% arrange to the right of element 30
element 29 resize 35% arrange behind the coffee beans layer
element 26 resize 45% arrange behind beans & cinnamon sticks
element 22  resize 45% arrange between the coffee cup and coffee beans
element 23 resize 60% rotate right 80 arrange behind coffee cup on the left

add paper 6 above the white background
apply your mask, merge group, duplicate, merge together, resize 85%

crop and resize
add your copyright and credits as needed
add your text and save
Friday, November 21, 2014

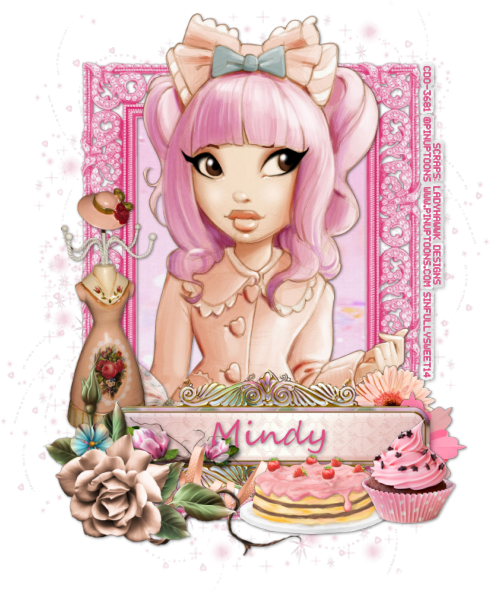
Pretty In Pink


Snaggable versions of this tag in my Fotki album

For this tutorial you will need the following:

Paint Shop Pro, I am using PSP X7, you should be able to use any version.

Tube of choice, I am using the artwork of Pinup Toons- Individual Tube-203-2 which you need a license to use. 


Font of choice, I am using Segoe Script

Plugins: No outside plugins used


Just remember that my choices of papers and elements is just a suggestion, change it up and make it yours! You don't have to follow mine exactly.

Add a drop shadow of your choosing to tubes & elements throughout. I usually use 1, 1, 50, 5 unless otherwise noted.


Let's get started!

Open a new canvas 850 x 850 pixels with a white background

Open frame 2 copy and paste as a new layer 
layer  use paper
click inside with your magic wand, selections, modify, expand 5, selections, invert
open paper 3 copy and paste as a new layer 
click delete on your keyboard

Copy and paste your tube as a new layer
arrange in your frame
erase the bits that hang out of your frame where you don't want them

Now add your elements:
element 9 resize 55% mirror horizontal arrange on bottom left corner
element 13 resize 65% arrange on right side below the flowers layer
element 20 resize 80% arrange across bottom, above & behind flower & dress form layers

element 19 resize 35% rotate right 35 arrange just above tube layer on left bottom
element 4 resize 55% arrange on bottom right corner
element 21 resize 40% arrange on the bottom, just left of cupcake

element 17 resize 45% arrange behind and to the right of the cupcake
element 6 resize 25% arrange behind other flower
element 5 resize 35% arrange behind cake and the flower cluster on the left

element 2 arrange above white background, duplicate, flip vertical, drag to bottom, merge these two

crop and resize
add your copyright and credits as needed
add your text and save