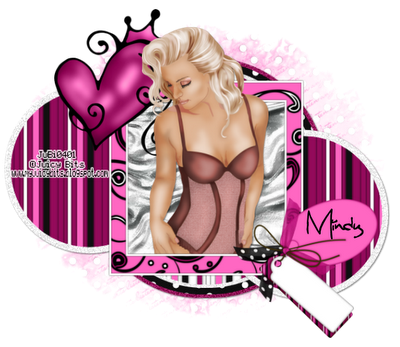
For this tutorial you will need the following:
Paint Shop Pro, I am using PSP X, you should be able to use any version.
Tube of choice, I am using the artwork of Juicy Bits which you need a license to use. You can get at her store HERE.
Scrap kit of choice. I am using Wild Thing by Juicy Bits.
Font of choice, I am using
Mask of choice
Plugins: no outside plugins used
Just remember that my choices of papers and elements is just a suggestion, change it up and make it yours! You don't have to follow mine exactly.
Let's get started!
Open a new canvas 650 x 600 white.
Open paper 3, set it as your background and using your elipse tool, draw out a medium sized circle in the middle of your canvas. Objects, align, center in canvas, then convert to raster layer.
Selections, select all, float, defloat, modify, expand by 5. Add a new raster layer below your circle and flood fill with white.
Selections, modify, expand by 10, open paper 7, set this one as your foreground add a new raster layer and flood fill with that pattern.
Selections, modify, expand by 5, add a new raster layer and flood fill with #960f5b. Deslect.
On the white layer and the last layer that you did, adjust, add/remove noise, monochrome, 45%, uniform.
Hide your white background layer, and merge visible. Add a drop shadow.
Open paper 2, set it as your background layer, set your foreground as white. Using your elipse tool with the stroke set to 10, draw out another circle. Convert to raster layer, take your magic wand tool and click inside the white part. Adjust, add/remove noise with the same settings as above, add a drop shadow, arrange to the top left side of your large circle.
Duplicate that small circle and drag the copy to the bottom right side.
Open frame 1, copy and paste as a new layer, resize about 40%. Click inside with your magic wand, expand by 5, open paper 10, resize that also by 40%, copy and paste as a new layer, selections, invert, on the paper layer, click delete on your keyboard.
Copy and paste your tube as a new layer, resize if needed. Place it in the frame and erase the bits that hang over the edge. Deselect and add your drop shadow.
Add any extra elements you'd like.
Open a paper of your choice, copy and paste it above your white background layer and apply the mask. Delete the mask, then merge the group together.
Add your name and any copyright and credits needed.

No comments:
Post a Comment