Pages

Friday, February 27, 2015

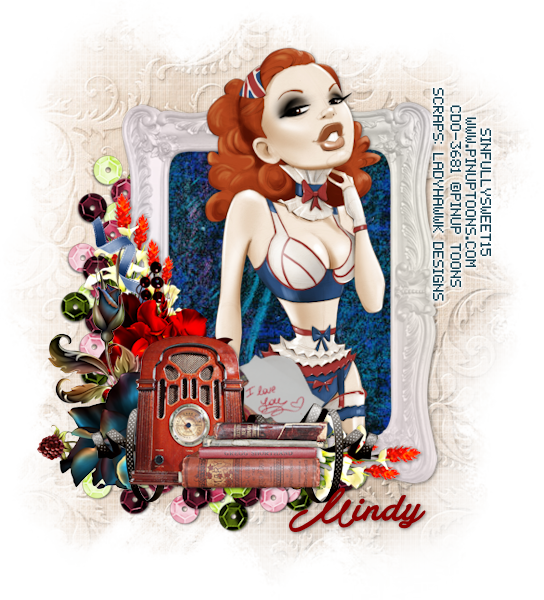
Love & Romance


Snaggable versions of this tag in my Fotki album

For this tutorial you will need the following:

Paint Shop Pro, I am using PSP X7, you should be able to use any version.

Tube of choice, I am using the artwork of PinupToons-213-2 from the pack 213
which you need a license to use.  

Scrap kit of choice. I am using a PTU kit by Ladyhawwk Designs, ScrapLHD_PinUpToons-Package-213 which is a bundle kit that comes only with the PinUp Toons bundle  and cannot be purchase separately. 

Font of choice, I am using Atelas


Plugins: No outside plugins used


Just remember that my choices of papers and elements is just a suggestion, change it up and make it yours! You don't have to follow mine exactly.

Add a drop shadow of your choosing to tubes & elements throughout. I usually use 1, 1, 50, 5 unless otherwise noted.


Let's get started!

Open a new canvas 850 x 850 pixels with a white background

Open frame 4 copy and paste as a new layer resize 80%
click inside with your magic wand, selections, modify, expand 2, selections, invert
open paper 6 copy and paste as a new layer 
click delete on your keyboard, leave selected

Copy and paste your tube as a new layer, 
arrange in your frame
erase the bits that hang out of your frame where you don't want them

Add your elements:
element 48 resize 45% arrange on bottom left corner
element 50 resize 45% arrange in front of the first element, over to the right a little
element 47 resize 35% rotate right 30 arrange behind radio & books

element 23 resize 60% mirror & arrange on bottom left below the other layers
element 22 resize 40% arrange below blue flowers, slightly to the right of them

element 7 resize 30% arrange behind and above the other flowers on the left,
duplicate, resize 80% rotate right 90 drag to the bottom right

element 8 resize 65% arrange below frame & paper on the bottom, duplicate, rotate right 90, arrange along the left side

element 45 resize 35% arrange on bottom right, below the books & radio layers, 
duplicate, mirror, drag to the left

element 44 resize 35% arrange between the flower layers on the left

Copy and paste paper 3 above the white background
apply your mask, merge group, resize 85%
Drop the opacity around 80

crop and resize
add your copyright and credits as needed
add your text and save

Thursday, February 26, 2015

Lucky Eileen


Snaggable versions of this tag in my Fotki album

For this tutorial you will need the following:

Paint Shop Pro, I am using PSP X7, you should be able to use any version.

Tube of choice, I am using the artwork of Alicia Mujica (Eileen tube) 
which you need a license to use.  

Scrap kit of choice. I am using a PTU kit Lucky Me by Niqui's Designs 

Font of choice, I am using Kristen ITC

Mask of your choice

Plugins: no outside plugins


Just remember that my choices of papers and elements is just a suggestion, change it up and make it yours! You don't have to follow mine exactly.

Add a drop shadow of your choosing to tubes & elements throughout. I usually use 1, 1, 50, 5 unless otherwise noted.


Let's get started!

Open a new canvas 850 x 850 pixels with a white background

Open element 13 copy and paste as a new layer resize 55%
click inside with your magic wand, make sure to get inside all the parts in the clovers
selections, modify, expand 2, selections, invert
open paper 4 copy and paste as a new layer 
click delete on your keyboard,

Copy and paste your tube as a new layer, resize by 65%
arrange in your frame
erase the bits that hang out of your frame where you don't want them

add the following elements:
element 8 arrange across the top, erase what hangs over the frame edges
element 26 resize 45% arrange over the clover on the bottom right corner
element 43 resize 45% arrange to the left of the hat
element 25 resize 45% arrange to the left of the bottle 
element 8 resize 25% arrange below the pot of gold element
element 30 resize 55% arrange on right side below the hat element
element 28 resize 25% arrange by pot of gold

Add paper 1 above the white background
apply your mask, merge group

crop and resize
add your copyright and credits as needed
add your text and save
Tuesday, February 24, 2015

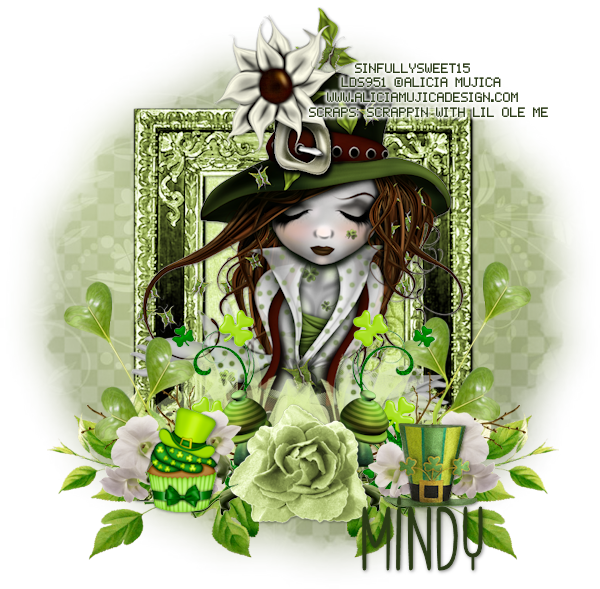
Lucky You


Snaggable versions of this tag in my Fotki album

For this tutorial you will need the following:

Paint Shop Pro, I am using PSP X7, you should be able to use any version.

Tube of choice, I am using the artwork of Alicia Mujica (Lucky tube) 
which you need a license to use.  

Scrap kit of choice. I am using a PTU kit by Scrappin With Lil Ole Me called Lucky You  

Font of choice, I am using Speak Easy

Mask: WSLMask362 links to masks is on the right sidebar 

Plugins: No outside plugins


Just remember that my choices of papers and elements is just a suggestion, change it up and make it yours! You don't have to follow mine exactly.

Add a drop shadow of your choosing to tubes & elements throughout. I usually use 1, 1, 50, 5 unless otherwise noted.


Let's get started!

Open a new canvas 850 x 850 pixels with a white background

Open element 13 copy and paste as a new layer resize 90%
click inside with your magic wand, selections, modify, expand 2, selections, invert
open paper 5 copy and paste as a new layer 
click delete on your keyboard,

Copy and paste your tube as a new layer, resize by 60%
arrange in your frame
erase the bits that hang out of your frame where you don't want them


Now add your elements:
element 52 resize 60% rotate right, arrange on bottom right, duplicate & mirror
element 84 resize 40% arrange on bottom center
element 89 resize 40% rotate right 90 arrange on bottom right, under the green rose, duplicate, mirror
duplicate each of these and drag over to each side

element 75 resize 50% arrange behind the flowers just to the right of the rose, duplicate & mirror
element 11 resize 60% arrange between flower layers on right, duplicate & mirror
element 71 resize 45% arrange on left below the white flower layers, duplicate & mirror

element 47 resize 35% arrange on left, under white flower layers, duplicate & mirror
element 48 resize 25% arrange under the flowers, near the green rose, duplicate & mirror
element 45 resize 25 % arrange on bottom right
element 49 resize 25% arrange on the bottom left

Copy and paste paper 17 above the white background
apply your mask and merge group
drop opacity to around 60

crop and resize
add your copyright and credits as needed
add your text and save

Saturday, February 21, 2015

Lucky


Snaggable versions of this tag in my Fotki album

For this tutorial you will need the following:

Paint Shop Pro, I am using PSP X7, you should be able to use any version.

Tube of choice, I am using the artwork of Alicia Mujica which you need a license to use.  
This tube is an ACDiva Forum exclusive and only members can get her.

Scrap kit of choice. I am using a PTU kit, Shamrock Shimmers by Scrappin With Lil Ole Me

Font of choice, I am using Irish Unical

Plugins: No outside plugins


Just remember that my choices of papers and elements is just a suggestion, change it up and make it yours! You don't have to follow mine exactly.

Add a drop shadow of your choosing to tubes & elements throughout. I usually use 1, 1, 50, 5 unless otherwise noted.


Let's get started!

Open a new canvas 850 x 850 pixels with a white background

Open element 104 copy and paste as a new layer 
click inside with your magic wand, selections, modify, expand 2, selections, invert
open paper 18 copy and paste as a new layer 
click delete on your keyboard,
Copy and paste your mirrored close up tube
arrange in the frame, click delete on your keyboard
change the blend mode to Luminance(L) and drop the opacity somewhere around 55


Copy and paste your main tube as a new layer, resize by 65%
arrange on the right side of your frame

now add your elements:

element 6 resize 65% arrange on bottom left side
element 39 resize 35% arrange in front of tube on bottom right side
element 26 resize 35% arrange to the right of the hat

element 36 resize 25% arrange to the right of element 26
element 33 resize 25% arrange to the right of the leprechaun on the pot of gold on the bottom right
element 34 resize 35% arrange in front of tube to the left of the leprechaun on the pot of gold

element 59 resize 35% arrange behind tube to the left of the mug
element 37 resize 45% arrange across the top
element 30 resize 45% arrange across top of frame

element 40 arrange on right side above the frame layer, 
duplicate, mirror, duplicate & flip. merge the two on the left together, drag down below the frame & background paper layers

crop and resize
add your copyright and credits as needed
add your text and save
Tuesday, February 17, 2015

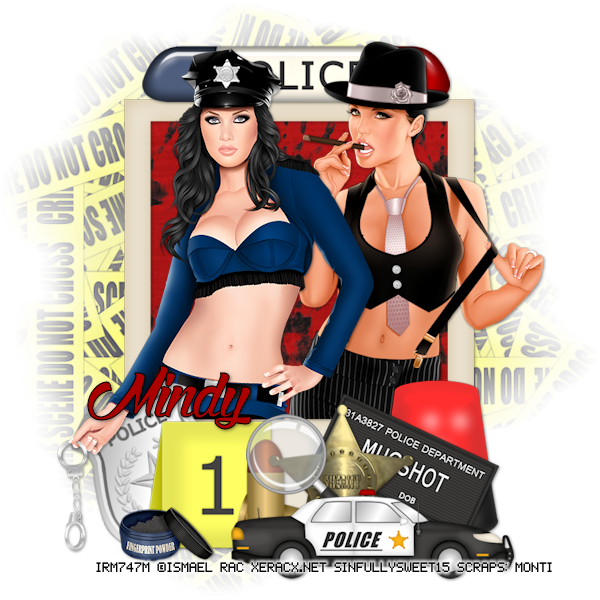
Mugshot


For this tutorial you will need the following:

Paint Shop Pro, I am using PSP X7, you should be able to use any version.

Tube of choice, I am using the artwork of Ismael Rac (Campus PD tube and
2013 Gangster Girl) which you need a license to use.  

Scrap kit of choice. I am using Walking the Beat by Monti 

Font of choice, I am using Stink On the Death

Mask: 
beckymask023, it's not available anymore online so I can't link it
if you don't have it, use another mask

Plugins: No outside plugins used


Just remember that my choices of papers and elements is just a suggestion, change it up and make it yours! You don't have to follow mine exactly.

Add a drop shadow of your choosing to tubes & elements throughout. I usually use 1, 1, 50, 5 unless otherwise noted.


Let's get started!

Open a new canvas 950 x 950 pixels with a white background

Copy and paste frame 1 as a new layer, resize 90%
click inside with your magic wand, selections, modify, expand 2, selections, invert
open paper 6 copy and paste as a new layer 
click delete on your keyboard,

Copy and paste both of your tubes as a new layer, resize gangster girl by 65%
arrange in your frame
erase the bits that hang out of your frame where you don't want them

Now time to add your elements:
element 15 resize 65% arrange on top of the frame, behind your tubes

element 10 resize 40% rotate left 25 arrange on far left, duplicate, drag one below the tube layer, leave one above, take the eraser tool and erase the part that goes over her arm on the top one
leave the bottom one as is, then you don't have to be super careful about not getting too many pixels and leaving a gaping space, as you will have the one on the bottom to show through

element 44 resize 40% arrange in front of the right side of the shield
element 32 resize 45% rotate right 25 arrange on far right side
element 34 resize 37% arrange behind element 32 on far right
element 28 resize 37% arrange to the left of element 34
element 29 resize 30% arrange on right side of yellow sign
element 8 resize 30% arrange over badge on bottom center
element 37 resize 20% arrange on bottom left
element 4 resize 55% arrange across the bottom

add paper 2 above the white background, apply BeckyMask23
merge group, resize 95%


crop and resize
add your copyright and credits as needed
add your text and save

Sunday, February 15, 2015

Alicia Mujica CT Tag Show Off

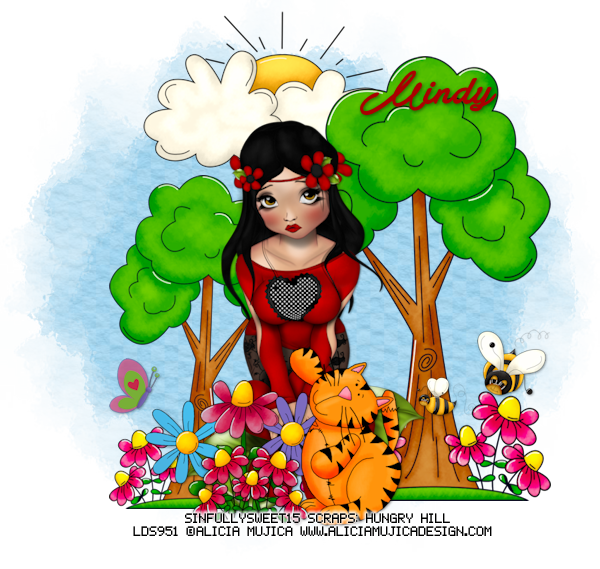
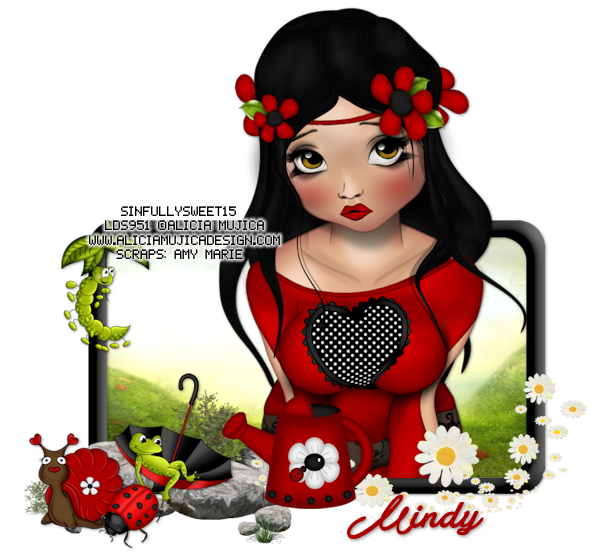
Both of the tags below were made using the artwork of Alicia Mujica
the tube is called Lolita and it's available in her store

The top tag is made using a Fan Freebie by Hungry Hill, available in her fan page on Facebook

The bottom tag is made using a PTU scrap kit called Ladybug Garden by Amy Marie

Snag tags for both of these are in my Fotki album

Saturday, February 14, 2015

St. Paddy's


For this tutorial you will need the following:

Paint Shop Pro, I am using PSP X7, you should be able to use any version.

Tube of choice, I am using the artwork of Ismael Rac (2014 Candy Pigtails tube)
which you need a license to use.  

Scrap kit of choice. I am using   a PTU kit, St. Paddy's Day by Niqui's Designs

Font of choice, I am using Irish Unicalfabeta

Plugins: no outside plugins


Just remember that my choices of papers and elements is just a suggestion, change it up and make it yours! You don't have to follow mine exactly.

Add a drop shadow of your choosing to tubes & elements throughout. I usually use 1, 1, 50, 5 unless otherwise noted.


Let's get started!

Open a new canvas 850 x 850 pixels with a white background

Open element 7 copy and paste as a new layer 
click inside with your magic wand, selections, modify, expand 2, selections, invert
open paper 12 copy and paste as a new layer 
click delete on your keyboard, leave selected

Copy and paste your tube as a new layer, resize by 61%
arrange in your frame
erase the bits that hang out of your frame where you don't want them

add your elements
element 62 resize 60% arrange on bottom left
element 45 resize 45% arrange behind element 62
element 63 resize 45% arrange to the right of element 62

element 40 resize 35% arrange to the right of the goody bag
element 61 resize 35% arrange on the bottom right

element 28 resize 35% arrange on top right, duplicate, mirror, merge together,
duplicate & drag down, merge together


crop and resize
add your copyright and credits as needed
add your text and save
Tuesday, February 10, 2015

A Little Love


Snaggable versions of this tag in my Fotki album

For this tutorial you will need the following:

Paint Shop Pro, I am using PSP X7, you should be able to use any version.

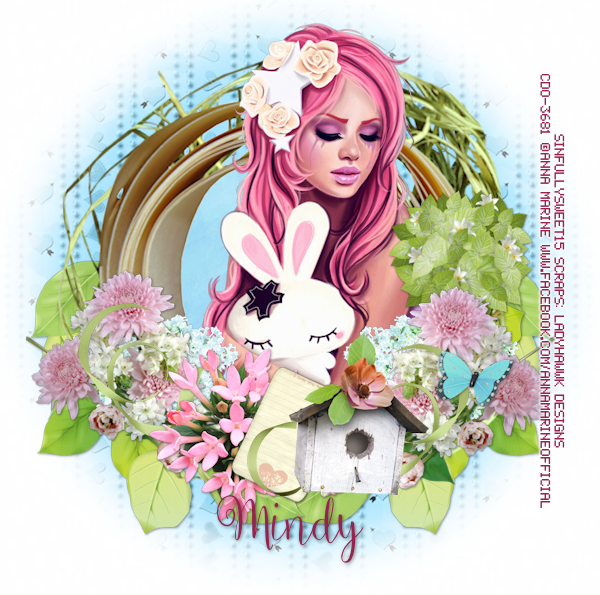
Tube of choice, I am using the artwork of Anna Marine-Individual Tube 45-3 which you need a license to use.  

Scrap kit of choice. I am using a PTU kit, A Little Love by Ladyhawwk Designs  

Font of choice, I am using Ballerina Script


Plugins: No outside plugins


Just remember that my choices of papers and elements is just a suggestion, change it up and make it yours! You don't have to follow mine exactly.

Add a drop shadow of your choosing to tubes & elements throughout. I usually use 1, 1, 50, 5 unless otherwise noted.


Let's get started!

Open a new canvas 950 x 950 pixels with a white background

Open element 47 copy and paste as a new layer, resize 190%
click inside with your magic wand, selections, modify, expand 2, selections, invert
open paper 3 copy and paste as a new layer 
click delete on your keyboard, leave selected

Copy and paste your mirrored tube as a new layer,
arrange in your frame
erase the bits that hang out of your frame where you don't want them, deselect

add your elements
element 10 resize 70% arrange on bottom left, duplicate & mirror
element 2 resize 65% arrange on the bottom, just right of the center
element 55 resize 55% rotate right 45 arrange behind and left of the birdhouse

element 26 resize 40% arrange behind and left of the paper
element 21 resize 50% arrange on the bottom right, under pink flowers, duplicate & mirror
erase the stem and leaves

element 7 arrange on the bottom, duplicate & mirror
element 72 resize 50% arrange between birdhouse and paper layer, duplicate, mirror, drag down below the paper layer

element 8 resize 30% arrange on the right
element 56 resize 45% arrange just above tube layer on the right

Add paper 7 above the white background
apply your mask, merge group

crop and resize
add your copyright and credits as needed
add your text and save
Monday, February 9, 2015

Bourbon Street


Snaggable versions of this tag in my Fotki album

For this tutorial you will need the following:

Paint Shop Pro, I am using PSP X7, you should be able to use any version.

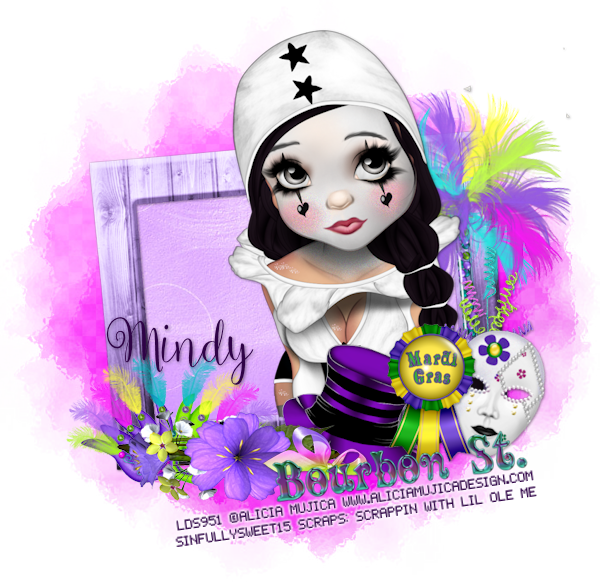
Tube of choice, I am using the artwork of Alicia Mujica which you need a license to use.  
This tube is called Carnaval and it comes in a special 3 pack of tubes only.

Scrap kit of choice. I am using a PTU kit by Scrappin With Lil Ole Me called Bourbon Street 

Font of choice, I am using Ballerina Script


Plugins: No outside plugins


Just remember that my choices of papers and elements is just a suggestion, change it up and make it yours! You don't have to follow mine exactly.

Add a drop shadow of your choosing to tubes & elements throughout. I usually use 1, 1, 50, 5 unless otherwise noted.


Let's get started!

Open a new canvas 850 x 850 pixels with a white background

Open element 118 copy and paste as a new layer, resize 85%
click inside with your magic wand, selections, modify, expand 2, selections, invert
open paper 6 copy and paste as a new layer 
click delete on your keyboard,
leave selected

Copy and paste your tube as a new layer, resize by 50%
arrange in your frame
erase the bits that hang out of your frame where you don't want them

Now add your elements:
element 2 resize 70% rotate left 5 arrange on right erase the base
element 4 resize 45% rotate right 15 arrange on bottom right over the first element
element 11 resize 40% arrange to the left of the mask
element 39 resize 40% arrange behind and just above mask
element 124 mirror resize 45% arrange behind and left of the ribbon
element 127 resize 45% arrange to the left of the hat
element 122 resize 25% arrange in front of hat
element 17 resize 60% rotate left 8 arrange across bottom
element 1 resize 40% arrange behind flowers on the bottom left corner

Copy and paste paper 3 above the white background
apply your mask, merge group

crop and resize
add your copyright and credits as needed
add your text and save
Saturday, February 7, 2015

Love


For this tutorial you will need the following:

Paint Shop Pro, I am using PSP X7, you should be able to use any version.

Tube of choice, I am using the artwork of PinUp Toons which you need a license to use.  
This tube is the February 2015 bonus tube only available at CDO during the month of February 2015 with a $10 purchase of PinUp Toons tubes. Or, sometimes they have a Bonus Bonanza where you can get retired tubes.

Scrap kit of choice. I am using a PTU kit by Monti called ScrapMonti_IB-JessicalDougherty-27-2 

Font of choice, I am using Brotherhood Script

Plugins: No outside plugins


Just remember that my choices of papers and elements is just a suggestion, change it up and make it yours! You don't have to follow mine exactly.

Add a drop shadow of your choosing to tubes & elements throughout. I usually use 1, 1, 50, 5 unless otherwise noted.


Let's get started!

Open a new canvas 850 x 850 pixels with a white background

Open frame 2 copy and paste as a new layer resize 80%
click inside with your magic wand, selections, modify, expand 2, selections, invert
open paper 6 copy and paste as a new layer 
click delete on your keyboard, 
copy and paste your close up tube as a new layer, arrange on the right, click delete on your keyboard
copy and paste element 14 arrange over tube,
click delete on your keyboard
deselect

Copy and paste your tube as a new layer, arrange so she's sitting on the frame

now add your elements:
element 20 resize 45% arrange on left
element 3 resize 45% arrange behind tube on right
element 12 resize 80% arrange on top left, duplicate and mirror
element 2  resize 45% arrange between heart & frame on bottom right, duplicate & mirror
element word art resize 60% arrange on the top

crop and resize
add your copyright and credits as needed
add your text and save

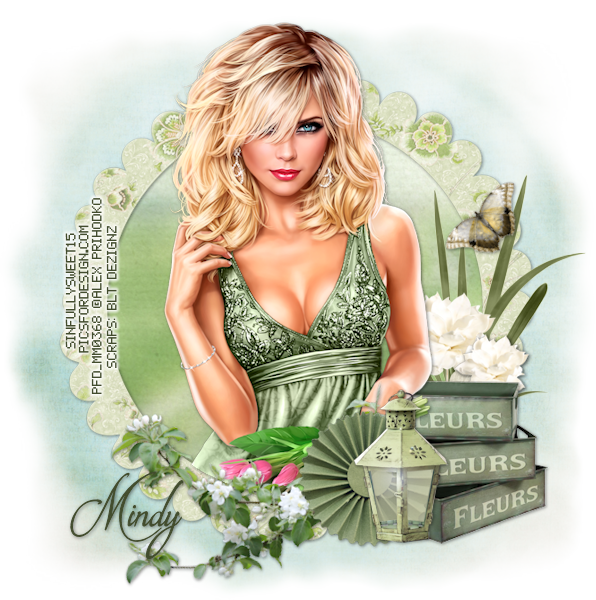
Fleurs


Snaggable versions of this tag in my Fotki album

For this tutorial you will need the following:

Paint Shop Pro, I am using PSP X7, you should be able to use any version.

Tube of choice, I am using the artwork of Alex Prihodko (Springtime tube)
which you need a license to use.  

Scrap kit of choice. I am using a PTU kit by BLT Dezignz called Julep Garden 

Font of choice, I am using Brotherhood Script

Mask of your choice, I don't know who made mine or who made it sorry

Plugins: no outside plugins used


Just remember that my choices of papers and elements is just a suggestion, change it up and make it yours! You don't have to follow mine exactly.

Add a drop shadow of your choosing to tubes & elements throughout. I usually use 1, 1, 50, 5 unless otherwise noted.


Let's get started!

Open a new canvas 850 x 850 pixels with a white background

Open frame 1 copy and paste as a new layer resize 23%
click inside with your magic wand, selections, modify, expand 2, selections, invert
open paper 2 resize 830 x 830 pixels copy and paste as a new layer 
click delete on your keyboard,
leave selected
Copy and paste your tube as a new layer, resize by 50%
arrange in your frame
erase the bits that hang out of your frame where you don't want them

now add your elements:
crates resize 16% arrange on bottom right between tube & frame
lmap resize 16% arrange to the left of the cratess resize % arrange
grass 2 resize 11% arrange behind tube on right side
rosette resize 16% arrange behind lantern on left
flower 9 resize 13% rotate left 90 arrange behind crates, duplicate, resize 75% drag to the right
branch resize 15% rotate right 20 arrange on bottom behind the other layers
butterfly resize 4% rotate left 45 arrange in the grass on the right

add paper 6 above your white background
apply your mask, merge group

crop and resize
add your copyright and credits as needed
add your text and save

Thursday, February 5, 2015

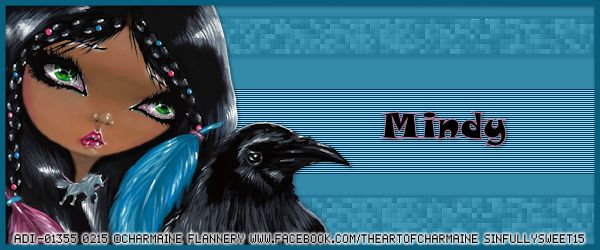
Mystic Moon


Snaggable versions of this tag in my Fotki album

For this tutorial you will need the following:

Paint Shop Pro, I am using PSP X7, you should be able to use any version.

Tube of choice, I am using the artwork of Charmaine Flannery (Mystic Moon tube)
which you need a license to use.  

Font of choice, I am using Snap ITC

Plugins: Visman Extravaganza - Transmission
Xero - Fritillary


Just remember that my choices of papers and elements is just a suggestion, change it up and make it yours! You don't have to follow mine exactly.

Add a drop shadow of your choosing to tubes & elements throughout. I usually use 1, 1, 50, 5 unless otherwise noted.


Let's get started!

Banner Tag

Open a new canvas 600 x 250 pixels with a white background

Copy and paste your tube as a new layer, resize by 38%

Add a new raster layer below the tube, flood fill with #338aa9
Take your selection tool set on rectangle, draw out a wide rectangle covering about 1/3 of the center of the canvas

Apply Visman Extravaganza - Transmission with the following settings
Line Width = 6
Offset = 191
Contrast = 85

Deselect

Take your selection tool set on rectangle again, and select the middle 1/3 of the top section

Apply Visman Extravaganza - Fritillary with the following settings:
Granularity = 5
Aggression = 30
Tessilation = 15
Variation = 45

promote to layer then deselect
then  duplicate

move one to the center of the bottom 1/3 of the tag

Merge these 2 layers together, take your magic wand, click outside of the rectangles with the fritillary
then selections, invert, modify, expand 3 
add a new raster layer below it, then flood fill with #075e7d
then merge these two layers together, add a drop shadow

Once I got to this part and tried to drop opacity, I noticed the top part didn't get lighter, so I hid the layers and realized that the fritillary was still on the background layer at the top, so I hid the tube and the fritillary layers and erased it at the top, then clicked on it with my magic wand, expanded by 2, and flood filled it with #338aa9

Then, unhide the tube and the fritillary layers, and change the opacity of the fritillary layer to 35

Now make sure you are on the white background layer, 
take your crop tool and crop the tag with the tool set on snap crop rectangle to layer opaque
selections, select all, modify, set selection borders, set at 5
make a new raster layer at the top and flood fill with #338aa9
then deselect

add your copyright and credits as needed
add your text and save


Avatar

Open a new canvas 200 x 200 or whatever size you need for your forum

Copy and paste the background from the banner
copy and paste the tube from the banner
crop the same way you did for the banner

make a border the same way you did for the banner except change the width to 3

add your copyright and credits as needed
add your text and save
Tuesday, February 3, 2015

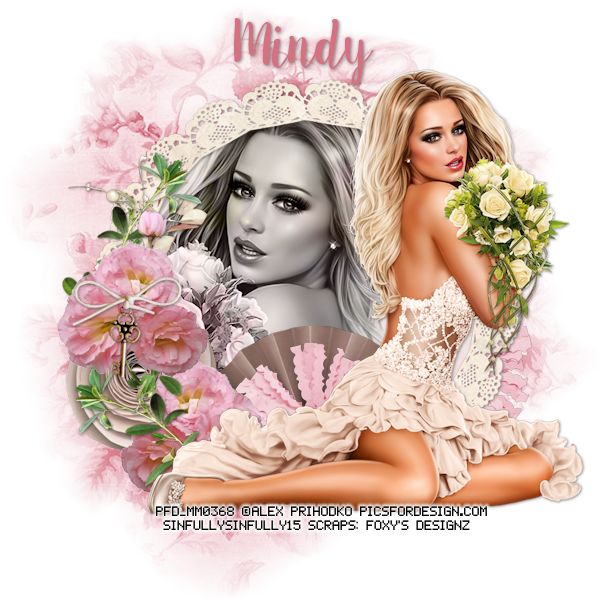
Loving Moments


Snaggable versions of this tag in my Fotki album

For this tutorial you will need the following:

Paint Shop Pro, I am using PSP X7, you should be able to use any version.

Tube of choice, I am using the artwork of Alex Prihodko (Bridal Bouquet tube)
which you need a license to use.  

Scrap kit of choice. I am using a PTU kit by Foxy's Designz  called Loving Moments

Font of choice, I am using Sweet Pea

Mask of your choice, mine is no longer available online, but if you have it
it is BeckyMask023, if you don't, just use another mask

Plugins: No outside plugins


Just remember that my choices of papers and elements is just a suggestion, change it up and make it yours! You don't have to follow mine exactly.

Add a drop shadow of your choosing to tubes & elements throughout. I usually use 1, 1, 50, 5 unless otherwise noted.


Let's get started!

Open a new canvas 850 x 850 pixels with a white background

Open frame 4 copy and paste as a new layer  resize 75%
click inside with your magic wand, selections, modify, expand 2, selections, invert
  open paper 2 copy and paste as a new layer 
copy and paste your mirrored tube
arrange in your frame
erase the bits that hang out of your frame where you don't want them
change the blend mode to Luminance(L)

Copy and paste your tube as a new layer, resize by 55% arrange on the right

Now add your elements:

element 43 resize 40% arrange on the bottom left, duplicate, mirror, drag above original layer
element 39 resize 46% arrange between the two pink flower layers, underneath them
element 4 resize 60% arrange over the top flower cluster

element 35 rotate left 90 arrange below the top pink flowers, but over the others, erase what shows below the tube

element 40 resize 50% arrange below the tube & flowers layers in the center
element 38 resize 55% arrange one over the fan, duplicate, drag to the far right under the frame
erase what shows under the tube from the one over the fan

element 10 resize 35% arrange below the leaves on the top left
element 25 resize 35% arrange in the leaves on the top left

add paper 8 above the white background
apply your mask merge group, resize 93% duplicate & merge together

crop and resize
add your copyright and credits as needed
add your text and save

Monday, February 2, 2015

Together


Snaggable versions of this tag in my Fotki album

For this tutorial you will need the following:

Paint Shop Pro, I am using PSP X7, you should be able to use any version.

Tube of choice, I am using the artwork of Alicia Mujica (Cuore tube) which you need a license to use.  

Scrap kit of choice. I am using a PTU kit by Scrappin With Lil Ole Me called Butterfly Kisses

Font of choice, I am using Magic Bean Salade

Plugins: No outside plugins


Just remember that my choices of papers and elements is just a suggestion, change it up and make it yours! You don't have to follow mine exactly.

Add a drop shadow of your choosing to tubes & elements throughout. I usually use 1, 1, 50, 5 unless otherwise noted.


Let's get started!

Open a new canvas 850 x 850 pixels with a white background

Copy and paste your tube as a new layer, resize by 35%

Now add your elements:
element 58 resize 60% arrange behind your tube on the top left
element 92, mirror & arrange below the other heart on the bottom right

element 78 arrange behind the other elements, 
click inside with your magic wand, selections, modify, expand 2
add a new raster layer below the frame, make sure you are on that layer
open paper 2, copy and paste into selection, then deselect

element 2 arrange below the two hearts, above the floral frame
element 22 arrange below the frame and background paper at the top
element 136 resize 80% arrange on the bottom below the tube layer

element 46  resize 50% arrange on bottom left, below the word art
element 15 resize 35% arrange between red heart and cupcake layers
element 126 resize 65% arrange behind the wordart on the right

element 84 resize 45% arrange behind element 126, duplicate, mirror, drag back to the right
element 79 resize 45% arrange between cookie and brown swirly element on right

crop and resize
add your copyright and credits as needed
add your text and save
Sunday, February 1, 2015

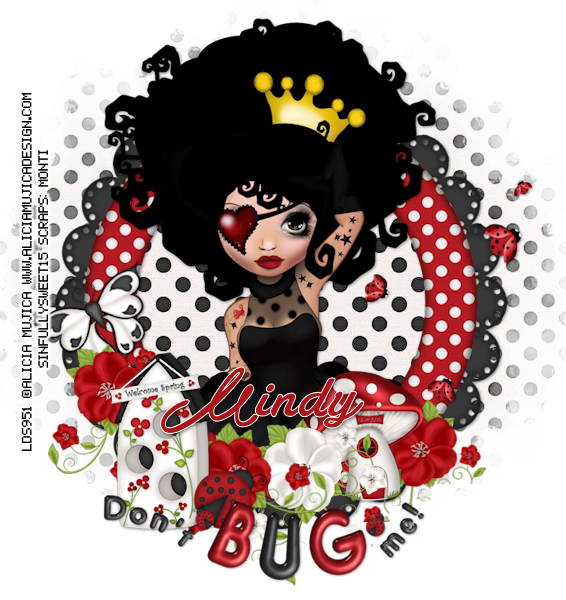
Don't Bug Me


Paint Shop Pro, I am using PSP X7, you should be able to use any version.

Tube of choice, I am using the artwork of Alicia Mujica (Cuore tube)  which you need a license to use.  

Scrap kit of choice. I am using  a PTU kit by Monti 

Font of choice, I am using Atelas


Plugins: No outside mask


Just remember that my choices of papers and elements is just a suggestion, change it up and make it yours! You don't have to follow mine exactly.

Add a drop shadow of your choosing to tubes & elements throughout. I usually use 1, 1, 50, 5 unless otherwise noted.


Let's get started!

Open a new canvas 850 x 850 pixels with a white background

Open frame 5 copy and paste as a new layer resize 70%
click inside with your magic wand, selections, modify, expand 2, selections, invert
open paper 3 copy and paste as a new layer 
click delete on your keyboard

Copy and paste your tube as a new layer, resize by50%
arrange in your frame
erase the bits that hang out of your frame where you don't want them

Now add your elements:

element resize % arrange
element 51 resize 45% arrange on bottom left

element 67 resize 40% arrange on the left side below the birdhouse layer, duplicate, drag to the right,
duplicate it again, mirror, arrange below the birdhouse on the right of it,
rotate the one right by the birdhouse left 45, rotate the one on the far right by 45 righ

element 68 resize48 % arrange between the two red ones on the right side of the birdhouse, erase the
leaves and stems that hang below the others on the bottom

element 39 resize 30% arrange between the white and red flower on the right
element 1 resize 30% then 80% arrange on the right side of the birdhouse
element 74 resize 40% then 80% arrange on the left

element 76 resize 50% mirror & arrange on the right
element word art resize 80% twice, arrange on the bottom, erase some of the vines that show behind it and make it look messy

add paper 3 just above the white background
apply your mask, merge group, resize 90%, drag up

crop and resize
add your copyright and credits as needed
add your text and save