Pages

Showing posts with label KennyK CT. Show all posts

Monday, January 26, 2015

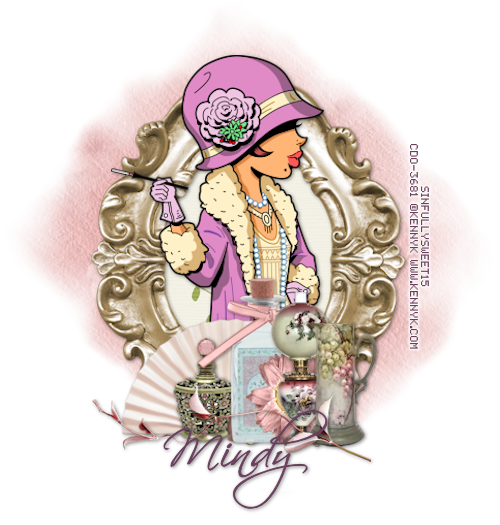
Socialite


For this tutorial you will need the following:

Paint Shop Pro, I am using PSP X7, you should be able to use any version.

Tube of choice, I am using the artwork of KennyK-Individual Tube 33-3
which you need a license to use.  

Scrap kit of choice. I am using a PTU kit, Boudoir, by Mellie Beans 

Font of choice, I am using Scriptina

Mask of your choice

Plugins: no outside plugins used


Just remember that my choices of papers and elements is just a suggestion, change it up and make it yours! You don't have to follow mine exactly.

Add a drop shadow of your choosing to tubes & elements throughout. I usually use 1, 1, 50, 5 unless otherwise noted.


Let's get started!

Open a new canvas 650 x 650 pixels with a white background

Open element 26 copy and paste as a new layer, resize 45%
click inside with your magic wand, selections, modify, expand 2, selections, invert
open paper 6 copy and paste as a new layer 
click delete on your keyboard

Copy and paste your tube as a new layer
arrange in your frame
erase the bits that hang out of your frame where you don't want them

add the following elements:
element 29 resize 39% rotate left 26 arrange on bottom left
element 36 resize 40% arrange on the right side of the fan
element 16 resize 25% arrange on the right side of the bottle
element 14 resize 20% arrange on the right side of element 16
element 8 resize 20% arrange to the right of the bottle in front of the fan
element 22 resize 20% arrange between the elements
element 21 resize 45% arrange at the bottom

add a paper above the white background
apply your mask & merge group

crop and resize
add your copyright and credits as needed
add your text and save

Monday, January 5, 2015

Wanted


Snaggable versions of this tag in my Fotki album

For this tutorial you will need the following:

Paint Shop Pro, I am using PSP X7, you should be able to use any version.

Tube of choice, I am using the artwork of Kenny K - Individual Tube 2-1 
which you need a license to use.  

Scrap kit of choice. I am using a PTU kit, Cowboy Sweetheart by Amy Marie 

Font of choice, I am using Showcard Gothic


Plugins: No outside plugins


Just remember that my choices of papers and elements is just a suggestion, change it up and make it yours! You don't have to follow mine exactly.

Add a drop shadow of your choosing to tubes & elements throughout. I usually use 1, 1, 50, 5 unless otherwise noted.


Let's get started!

Open a new canvas 850 x 850 pixels with a white background

Add the following:
element 30 arrange just below center of canvas
element 79 arrange below the fence, duplicate twice, pull upwards, merge the 3 together
element 80 arrange on the left side between the fence and the element 70 grass

Copy and paste your tube as a new layer, mirror, arrange on right side of the fence

Open element 33, take your magic wand set on rectangle, draw out a rectangle or square shape
on the poster, invert, take your tube, copy and paste as a new layer, arrange in the
rectangle of marching ants, click delete on your keyboard, deselect
copy merged and paste as a new layer on your tag, resize 40% arrange on the fence

element 78 resize 60% arrange between the fence & grass on the left
element 92 arrange between grass and wanted poster
element 31 resize 75% arrange on bottom left

Copy and paste paper 4 above the white background
apply your mask, merge group

crop and resize
add your copyright and credits as needed
add your text and save
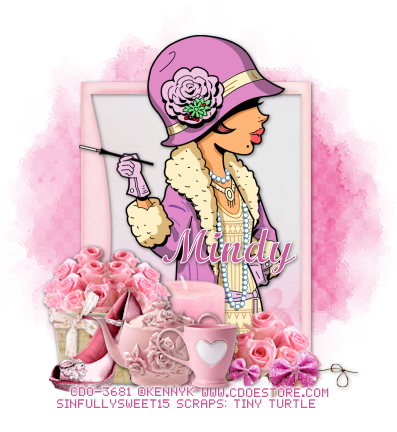
Tuesday, December 2, 2014

KennyK CT Tag Show Off


New tag using the artwork of KennyK-Individual Tube 38-1 at CDO
Scrap kit is part of the Christmas 2014 Collab at CDO that was only available til Nov 30th 2014

Snaggable tags in my Fotki album

Sunday, November 30, 2014

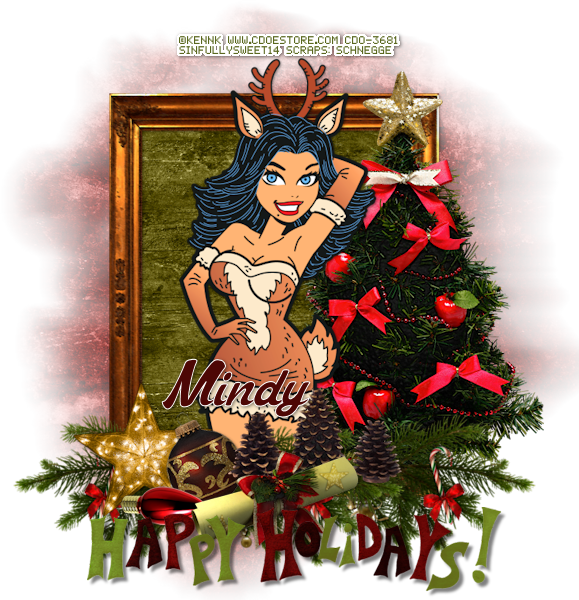
Reindeer Christmas


For this tutorial you will need the following:

Paint Shop Pro, I am using PSP X7, you should be able to use any version.

Tube of choice, I am using the artwork of Kenny K Individual tube 38-1 which you need a license to use.  This tube is at CDO

Scrap kit of choice. I am using Schnegge Christmas Colab 2014  which was part of the Christmas Collab available at CDO in November 2014 when you bought 2 kits you got it free. It will no longer be available after Nov 30th 2014

Font of choice, I am using Mastoc

Mask of your choice 

Plugins: no outside plugins used


Just remember that my choices of papers and elements is just a suggestion, change it up and make it yours! You don't have to follow mine exactly.

Add a drop shadow of your choosing to tubes & elements throughout. I usually use 1, 1, 50, 5 unless otherwise noted.


Let's get started!

Open a new canvas 850 x 850 pixels with a white background

Open frame copy and paste as a new layer resize 90%
click inside with your magic wand, selections, modify, expand 2, selections, invert
open paper 4 copy and paste as a new layer 
click delete on your keyboard, leave selected

Copy and paste your close up tube as a new layer
arrange in your frame
erase the bits that hang out of your frame where you don't want them

Now add your elements
element 2 resize 45% rotate right 30 arrange on bottom left corner
duplicate, mirror horiztonal (regular mirror in older versions of PSP)
duplicate that layer, drag to the left

element 9 arrange on right below the tube & just above the frame
element 8 resize 45% arrange on bottom left
element 11 resize 35% arrange to the right of the star

element 10 resize 32% rotate left 90 arrange in front of star and other christmas ornament
element 7 resize 45% arrange to the left  of the other decorations
element 4 resize 45% arrange behind scroll layer
wordart arrange at the bottom add drop shadow of 5, 5, 50, 5

add paper 3 above the white background, 
apply your mask, merge group


crop and resize
add your copyright and credits as needed
add your text and save

Monday, November 10, 2014

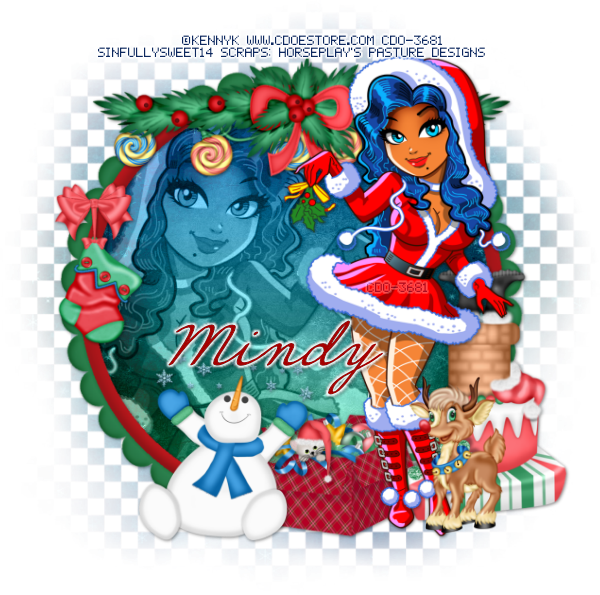
Christmas Cheer


Snaggable versions of this tag available in my Fotki album 

For this tutorial you will need the following:

Paint Shop Pro, I am using PSP X, you should be able to use any version.

Tube of choice, I am using the artwork of KennyK-Individual Tube-18-2 which you need a license to use. 
You can get it at CDO.

Scrap kit of choice. I am using a FTU kit that was previously PTU by Horesplay's Pasture Designs called Christmas Cheer 

Font of choice, I am using Hirondelle

Mask: DBV Mask 107

Plugins: No outside plugins used
I do use Eye Candy 4000 Gradient Glow on all my copyrights/credits layers
I do this because some forums will make a .png tag show up with a black background and then your
copyright doesn't show.


Just remember that my choices of papers and elements is just a suggestion, change it up and make it yours! You don't have to follow mine exactly.

Add a drop shadow of your choosing to tubes & elements throughout. I usually use 1, 1, 50, 5 unless otherwise noted.


Let's get started!

Open a new canvas 850 x 850 pixels with a white background

open element 21  copy and paste as a new layer resize 75%
click inside with your magic wand, selections, modify, expand 2,
add a new raster layer below the frame layer, make sure you are on this layer
copy and paste paper 4 into selection, selections, invert

mirror your close up tube, copy and paste as a new layer above the paper, 
arrange in the frame, click delete on your keyboard
change the blend mode to Luminance(L) drop the opacity to 60

Copy and paste your main tube as a new layer, arrange on the right

Add the following elements:
element 58 resize 75% arrange across top of frame
element 57 arrange under element 58, erase what sticks out beyond the sides of ele58
element 22 resize 65% arrange behind & to the right of the tube
element 17 resize 45% arrange to the left of the tube
element 15 resize 45% arrange on left side of frame
element 6 resize 45% arrange to the left of the gift box
element 11 resize 45% arrange in front of tube on right

copy and paste paper 7 as a new layer above the white background
apply your mask, merge group, resize 80%

crop and resize
add your copyright and credits as needed
add your text and save
Wednesday, October 29, 2014

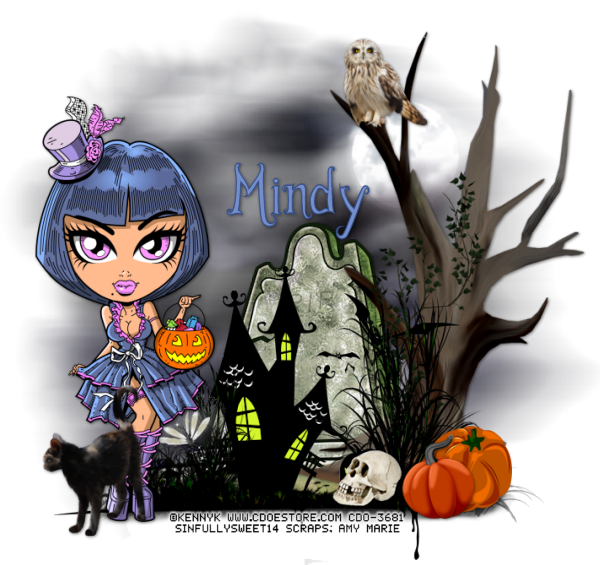
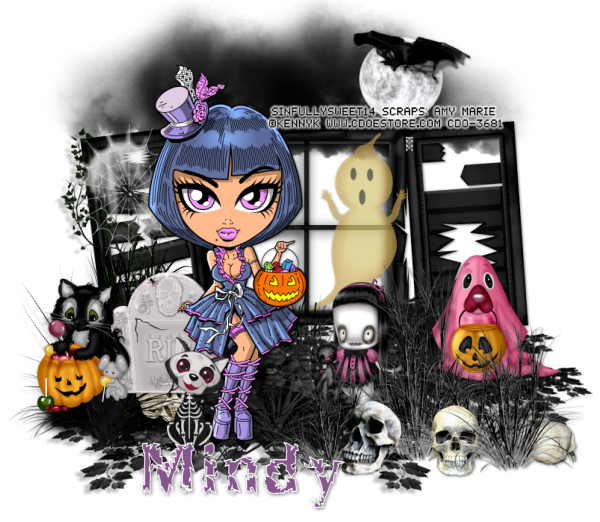
Trixie Treat


Snaggable tags for this available in my Fotki album

For this tutorial you will need the following:

Paint Shop Pro, I am using PSP X, you should be able to use any version.

Tube of choice, I am using the artwork of KennyK-Individual Tube- 31-3 which you need a license to use.  You can purchase this tube at CDO

Scrap kit of choice. I am using a PTU Kit, BooNita by Amy Marie Kits

Font of choice, I am using Breakable

Plugins: No outside plugins used
I do use Eye Candy 4000 Gradient Glow on all my copyrights/credits layers
I do this because some forums will make a .png tag show up with a black background and then your
copyright doesn't show.


Just remember that my choices of papers and elements is just a suggestion, change it up and make it yours! You don't have to follow mine exactly.

Add a drop shadow of your choosing to tubes & elements throughout. I usually use 1, 1, 50, 5 unless otherwise noted.


Let's get started!

Open a new canvas 850 x 850 pixels with a white background

add the following elements to your canvas:
element 44 arrange above center
element 54 arrange below window on left
element 57 resize 80% arrange on the right of element 54
element 55 arrange on bottom right

Copy and paste your tube and arrange on left side of window

element 51 arrange on top left, duplicate, mirror, drag over against the original layer, merge down, duplicate, drag to the right. Arrange them how you want them, merge down then flip and drag back to the top, resize 80%

element 67 resize 40% arrange on top right
element 17 resize 45% arrange to the left of your tube
element 38 resize 45% arrange just in front of the window on the right
element 2 resize 45% arrange on the far left
element 34 resize 45% arrange between element 2 and the tube

element 26 resize 45% arrange over window shutter on the left
element 28 resize 45% arrange over the moon
element 48 resize 45% arrange in center


crop and resize
add your copyright and credits as needed
add your text and save

Monday, October 27, 2014

Steampunk Mae


For this tutorial you will need the following:

Paint Shop Pro, I am using PSP X, you should be able to use any version.

Tube of choice, I am using the artwork of Kenny K - Individual tube 27-3 which you need a license to use.  This tube is available at CDO

Scrap kit of choice. I am using a PTU kit, Steampunk Love by Scottish Butterfly

Font of choice, I am using Take It Or Leave It Serif

Mask: Horse Play's Pasture Mask 7

Plugins: No outside plugins used
I do use Eye Candy 4000 Gradient Glow on all my copyrights/credits layers
I do this because some forums will make a .png tag show up with a black background and then your
copyright doesn't show.


Just remember that my choices of papers and elements is just a suggestion, change it up and make it yours! You don't have to follow mine exactly.

Add a drop shadow of your choosing to tubes & elements throughout. I usually use 1, 1, 50, 5 unless otherwise noted.


Let's get started!

Open a new canvas 850 x 850 pixels with a white background

open element 65 copy and paste as a new layer, erase the little square thing at the top, resize 110%
Take your selection tool set on circle, place your cursor in the center of the frame, left click
and hold down, draw out a circle that fits in the frame, let go of the mouse button when you get it how you want it, selections, invert
open paper 1 copy and paste as a new layer
click delete on your keyboard,

copy and paste your close up tube as a new layer, erase any parts of the legs that stick out below the frame edge on the bottom

 Now add your elements:
element 51 resize 65% flip, arrange bottom center
element 57 resize 65% arrange on right of element 51, below tube layer, duplicate & mirror
duplicate each one and drag up

element 63 resize 45% arrange below element 51 on the left
element 54 resize 35% arrange on bottom left
element 56 resize 45% arrange on bottom right

element 13 resize 41% arrange on bottom right
element 23 resize 35% arrange bottom center

Add paper 9 above the white background
apply your mask, merge group, resize 80%

crop and resize
add your copyright and credits as needed
add your text and save