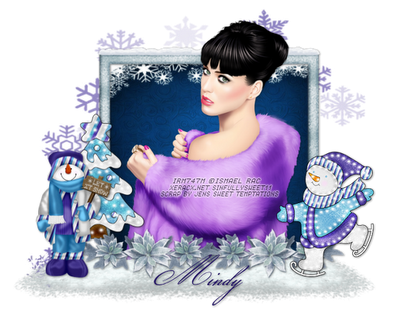
For this tutorial you will need the following:
Paint Shop Pro, I am using PSP X, you should be able to use any version.
Tube of choice, I am using the artwork of Ismael Rac, which you need a license to use. You can get it at his store.
Scrap kit of choice. I am using Frosty by Jen's Sweet Temptations.
Font of choice, I am using Champignon.
Mask: Vix Mask 306
Plugins: No outside Plugins
Just remember that my choices of papers and elements is just a suggestion, change it up and make it yours! You don't have to follow mine exactly.
Let's get started!
Open a new canvas 700 x 700.
Open frame 2, copy and paste as a new layer, resize by 150%. Click inside with your magic wand.
Selections, modify, smooth with default settings. Settings, modify, expand by 5.
Open paper 8, copy and paste as a new layer just above the white background. Resize by 65%, selections, invert, click delete on your keyboard and leave selected.
Open your tube, copy and paste as a new layer, arrange in the frame, duplicate. Drag the original layer below the frame layer, hide the duplicate tube.
Take your eraser tool and erase the bits hanging below the frame where you don't want them showing. Selections, select none. Add a drop shadow to the tube and frame.
Un-hide the duplicate tube that is above your frame. Take the eraser tool and erase the bits below the frame. You don't have to be careful to run exactly along the frame because you have the duplicate showing below it.
Add the following elements (or any others of your choice), add drop shadow as needed
Tree lights, resize by 50%
Snowman 1, resize by 50%
Skater Light, resize by 50%
Snow, arrange on the left, duplicate, mirror
Flower 3, resize by 65%, arrange on the right, duplicate, mirror
Open paper 9, copy and paste as a new layer, just above the white background layer. Apply your mask by opening it in PSP, then go to layers, new mask layer, from image, find the mask in the drop down box, click ok. Delete the mask in your layer pallete, click yes, then merge group. Arrange the mask if needed. I had to pull mine a bit to the left to make it look right.
Crop, resize, add text, copyright and credits as needed.

No comments:
Post a Comment